
Choose your vertical system type
The hardware you pick dictates how much you can grow and how often you need to water. Your choice depends on three factors: the square footage you can spare, the amount of light available, and how much maintenance you are willing to do.
There are three main ways to go vertical indoors. Each has a distinct footprint and yield potential. Use the table below to compare the core differences.
| System | Footprint | Yield | Complexity |
|---|---|---|---|
| Tower | Small (1-2 sq ft) | High (12-32 plants) | Medium (pump/maintenance) |
| Wall Panel | Medium (wall space) | Medium-High | Low (static or drip) |
| Shelf Rack | Large (floor space) | Low-Medium | Low (manual watering) |
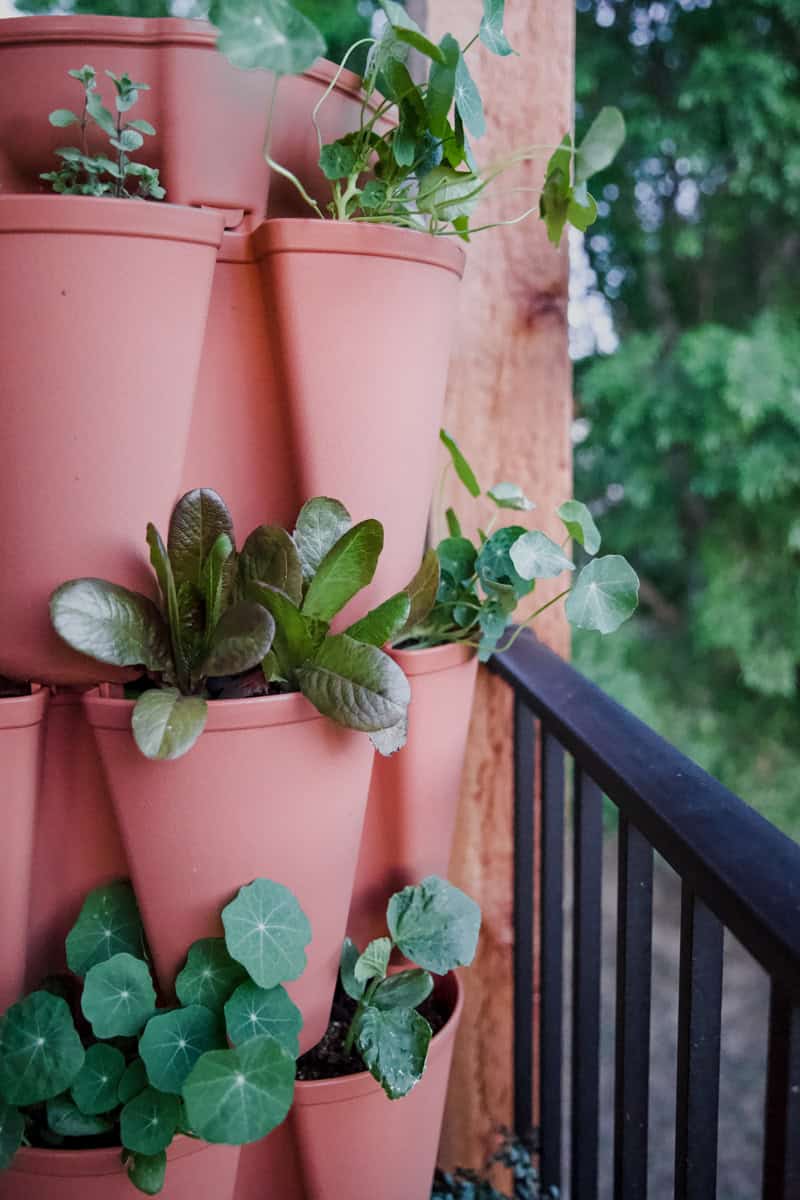
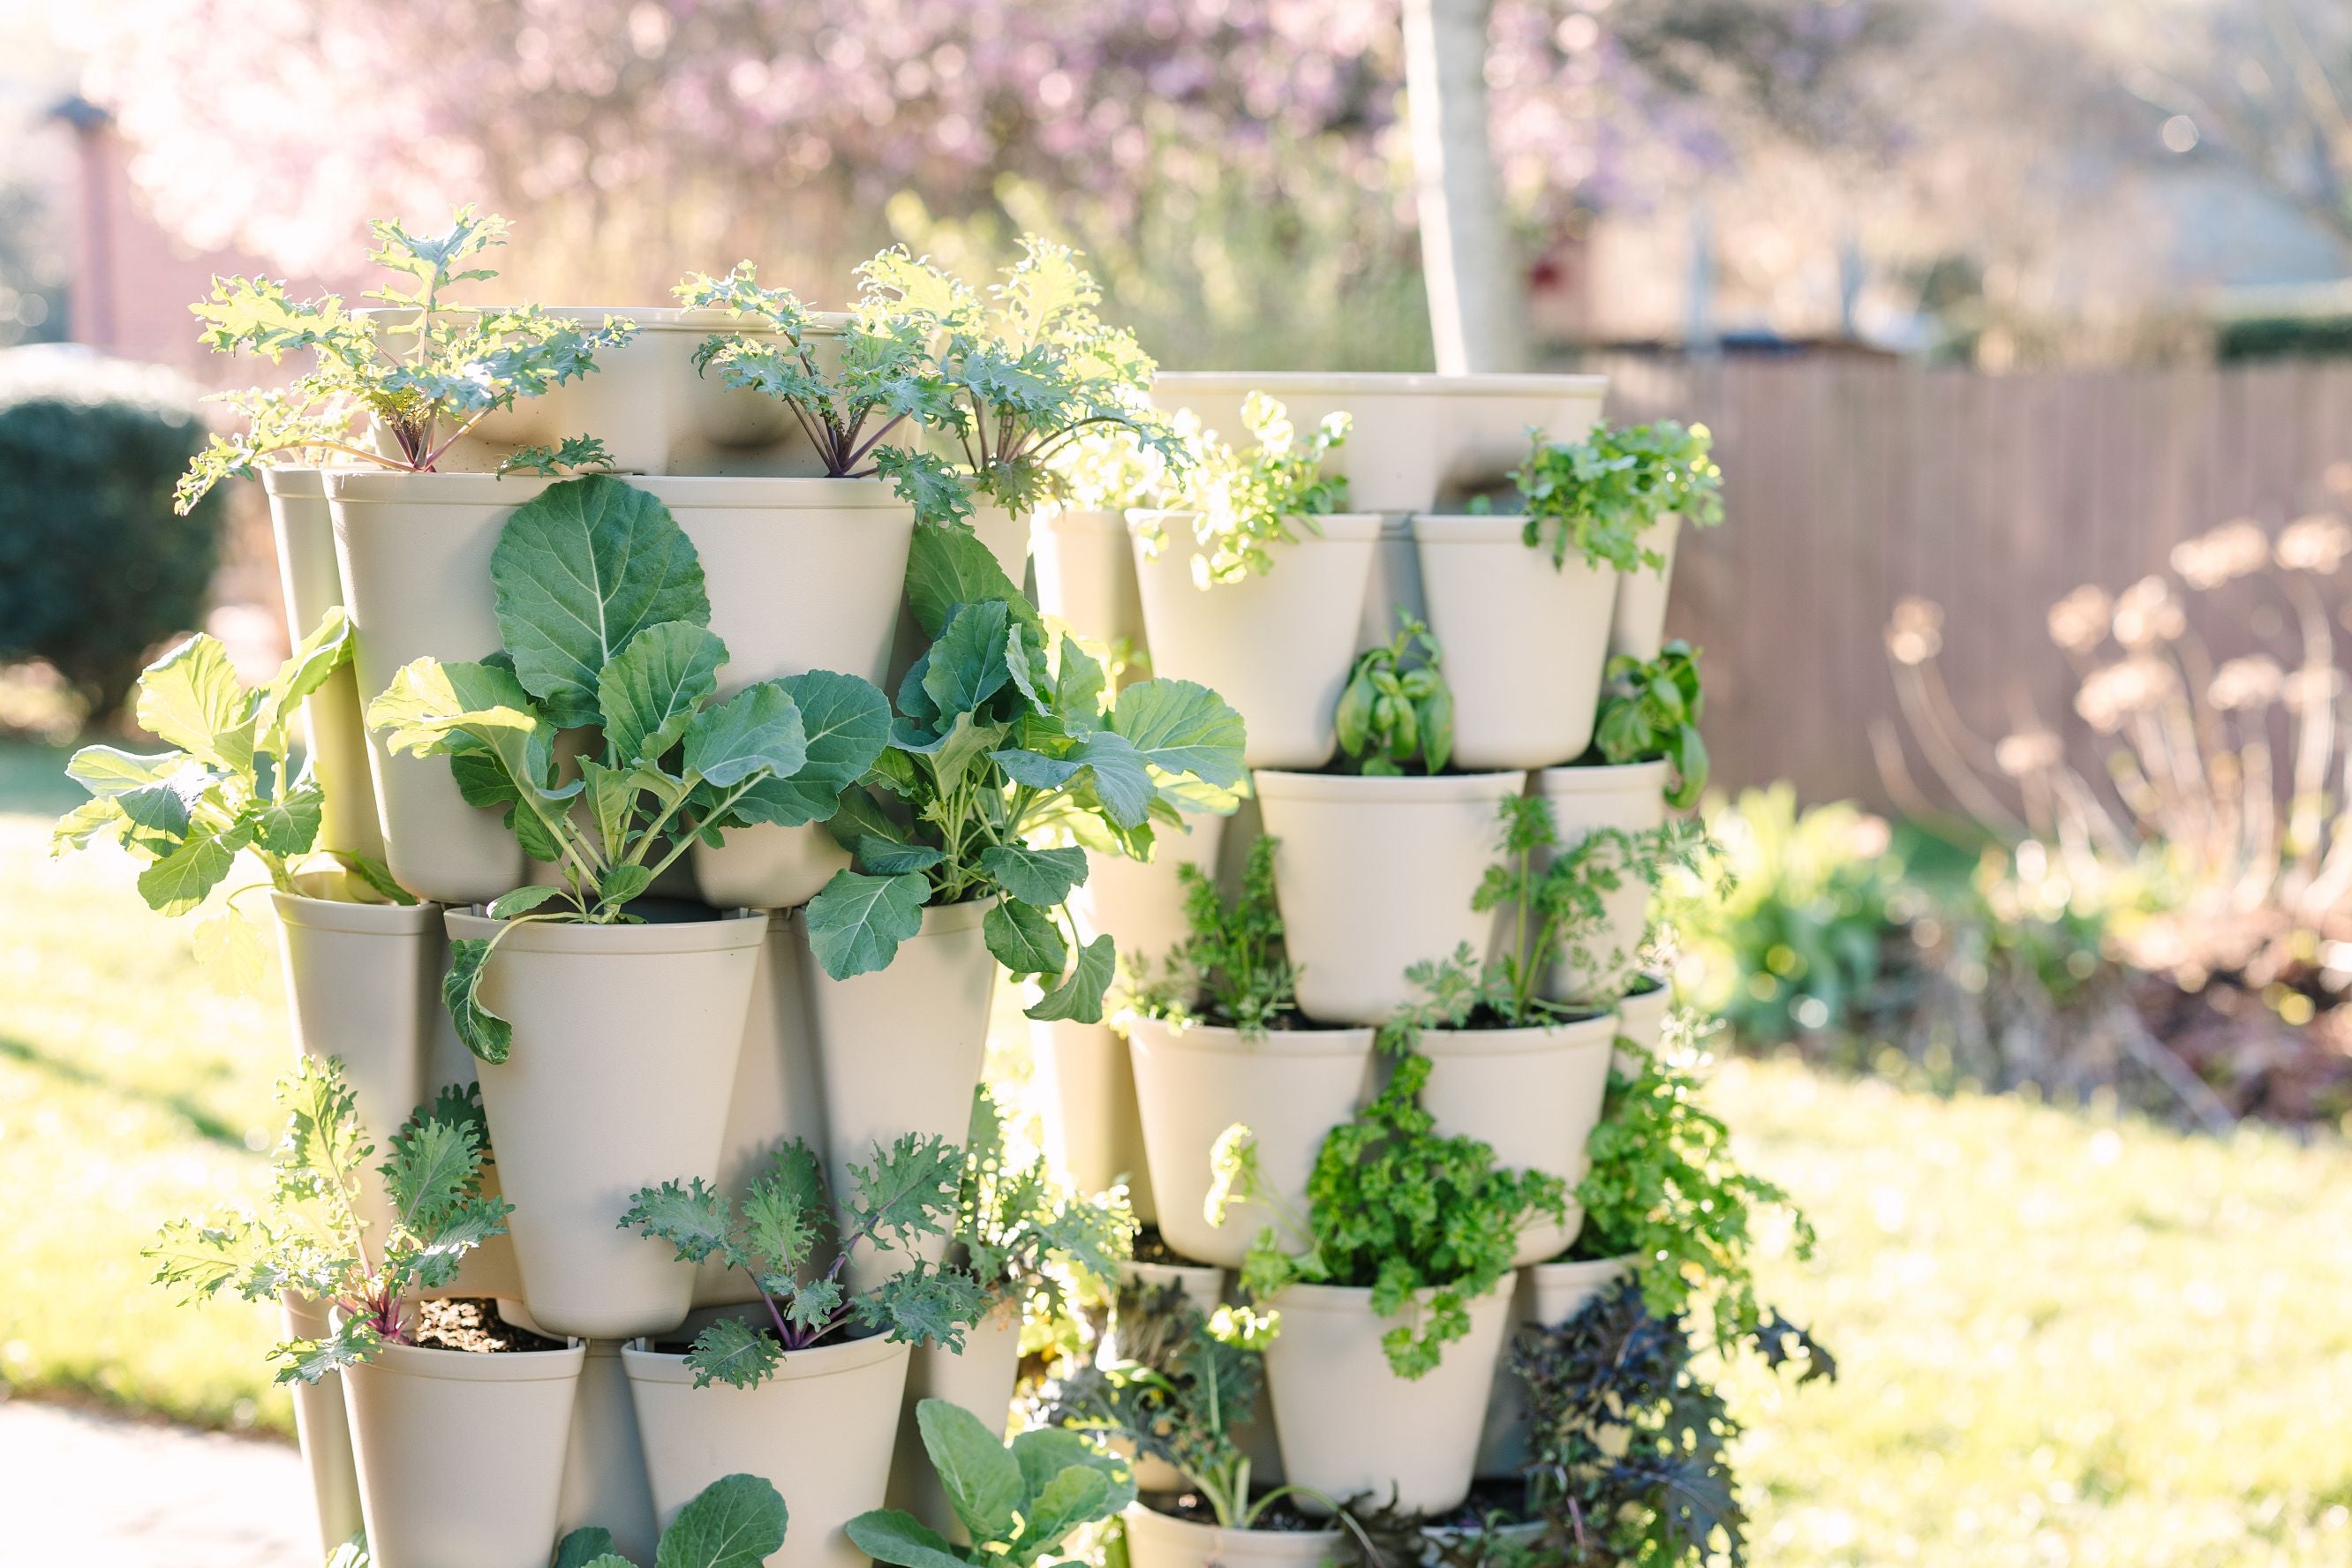
Tower systems stack plants vertically in a column, usually with a recirculating water pump. They are the most space-efficient option, fitting into a corner while holding up to 32 plants. However, they require electricity for the pump and regular cleaning to prevent clogs.
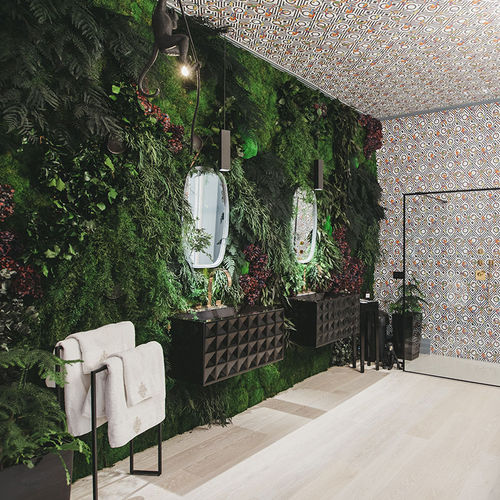
Wall panels attach directly to the wall, saving floor space entirely. They are ideal for herbs and leafy greens in bright spots like kitchens or bathrooms. Static wall pockets are low-maintenance but have limited water capacity, meaning you must water them frequently by hand.
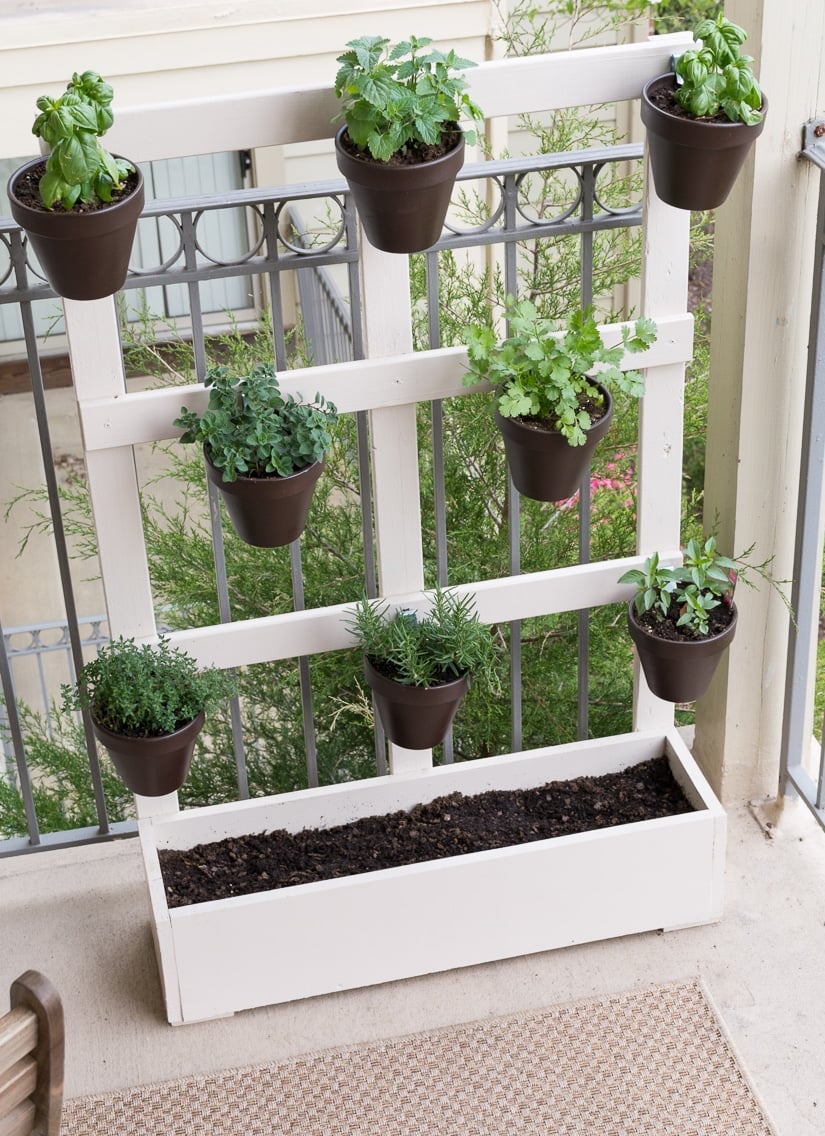
Shelf racks use tiered shelving units. They are the easiest to set up and maintain since gravity handles the water flow (or you water each shelf individually). The trade-off is that they require significant floor or balcony space and may need adjustable lighting for the lower tiers.
Select crops suited for vertical growth
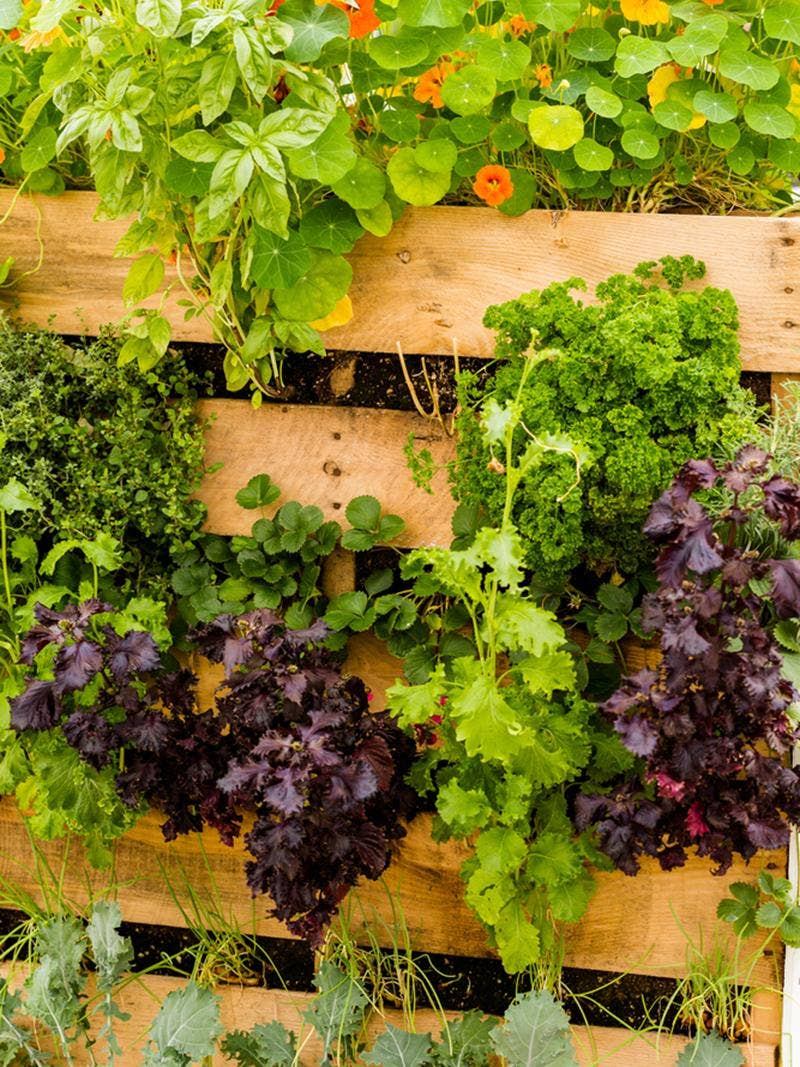
Choosing the right plants is the first step in making your vertical garden productive. Not every vegetable thrives when grown upward, and some require significantly more space or light than others. Focus on compact varieties that naturally climb or stay small, ensuring your limited indoor footprint yields actual food rather than just greenery.
Strawberries
Strawberries are arguably the best candidate for indoor vertical pockets. Their trailing vines drape beautifully over the edges, and they produce fruit continuously under proper light. Choose day-neutral varieties, which fruit throughout the growing season rather than just in spring. Keep the roots consistently moist, as vertical pockets dry out faster than ground soil. You can expect a steady harvest of small to medium berries if you maintain adequate humidity and light.
Cucumbers
Cucumbers are vigorous climbers that need strong support and consistent moisture. For vertical indoor growing, select bush or compact varieties like 'Patio' or 'Bush Slicer' to prevent them from overwhelming your space. They require trellising or sturdy netting to climb properly. Unlike strawberries, cucumbers are heavy feeders and drinkers; ensure your vertical system has a reliable watering schedule. Expect a rapid harvest of crisp fruits, but be prepared to prune side shoots to keep the main vine focused upward.
Zucchini
Zucchini is generally a poor choice for vertical setups. These plants are wide-spreading and require substantial root volume to produce large fruits. Growing them vertically often results in stunted plants and minimal yield. If you are determined to try, you must use a massive container system with deep soil and heavy pruning, which is rarely worth the effort in a small indoor space. Stick to compact herbs or leafy greens for similar culinary uses without the spatial demand.
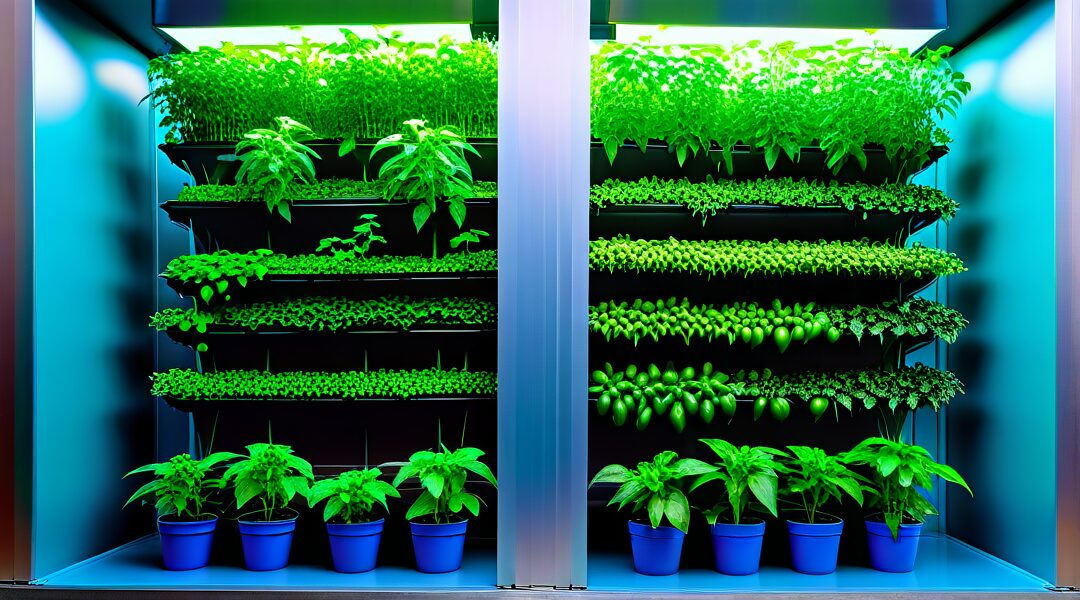
Set up lighting and irrigation
Your vertical garden lives or dies by two things: light intensity and water delivery. Indoor vertical gardening requires precise control over these elements because the confined space traps heat and humidity, creating a unique microclimate that standard houseplants don't face.
The vertical design uses 90% less land than traditional gardening, but it demands 100% reliable nutrient and water recycling to prevent root rot in the stacked reservoirs. Without this precision, the top plants will scorch while the bottom ones drown. Follow this sequence to install the core infrastructure before adding any soil or plants.
Place your LED grow lights directly above the tallest tier of your vertical garden. Most leafy greens need 12-14 hours of light daily. Use a clamp lamp or a dedicated grow light bar suspended on a chain. Ensure the light is 12-18 inches above the top leaves. If the leaves turn yellow or brown at the tips, move the light higher. If they stretch toward the light, move it closer.
Submerge the pump in the bottom reservoir. Connect the tubing to the pump outlet and run it up the back of the vertical structure. Secure the tube with zip ties every 6-8 inches to prevent sagging. Ensure the tubing reaches the top emitter or drip line. The pump should be fully underwater to prevent overheating. Use a timer to cycle the pump on for 15 minutes and off for 45 minutes during daylight hours.
Fill the reservoir with plain water and turn on the pump. Watch the flow from the top emitter down to the bottom. Every plant pocket should receive a steady mist or drip. If water pools at the bottom without draining, clear the clogged drain holes. If the top plants are dry, check for kinks in the tubing. Adjust the flow rate valve until the water cycles evenly through all tiers.
Add hydroponic nutrients to the water. Use a pH meter to adjust the water to a range of 5.5 to 6.5. This acidity level allows plants to absorb nutrients efficiently. Check the pH daily for the first week. Add nutrient solution only when the water level drops due to evaporation, not when you top it off with plain water. This prevents nutrient burn and maintains a stable chemical balance.
Route all power cords away from the water reservoir and tubing. Use a waterproof outlet cover if the setup is near a sink or in a high-humidity room. Plug the pump and lights into a surge protector. Ensure the timer is set correctly for your chosen light schedule. Double-check that no wires are dangling into the water. Safety is paramount when combining electricity and water in a small indoor space.
Plant seeds and manage growth
The planting phase is where your indoor vertical garden transitions from equipment to living system. How you handle the initial setup determines whether your harvest is abundant or sparse.
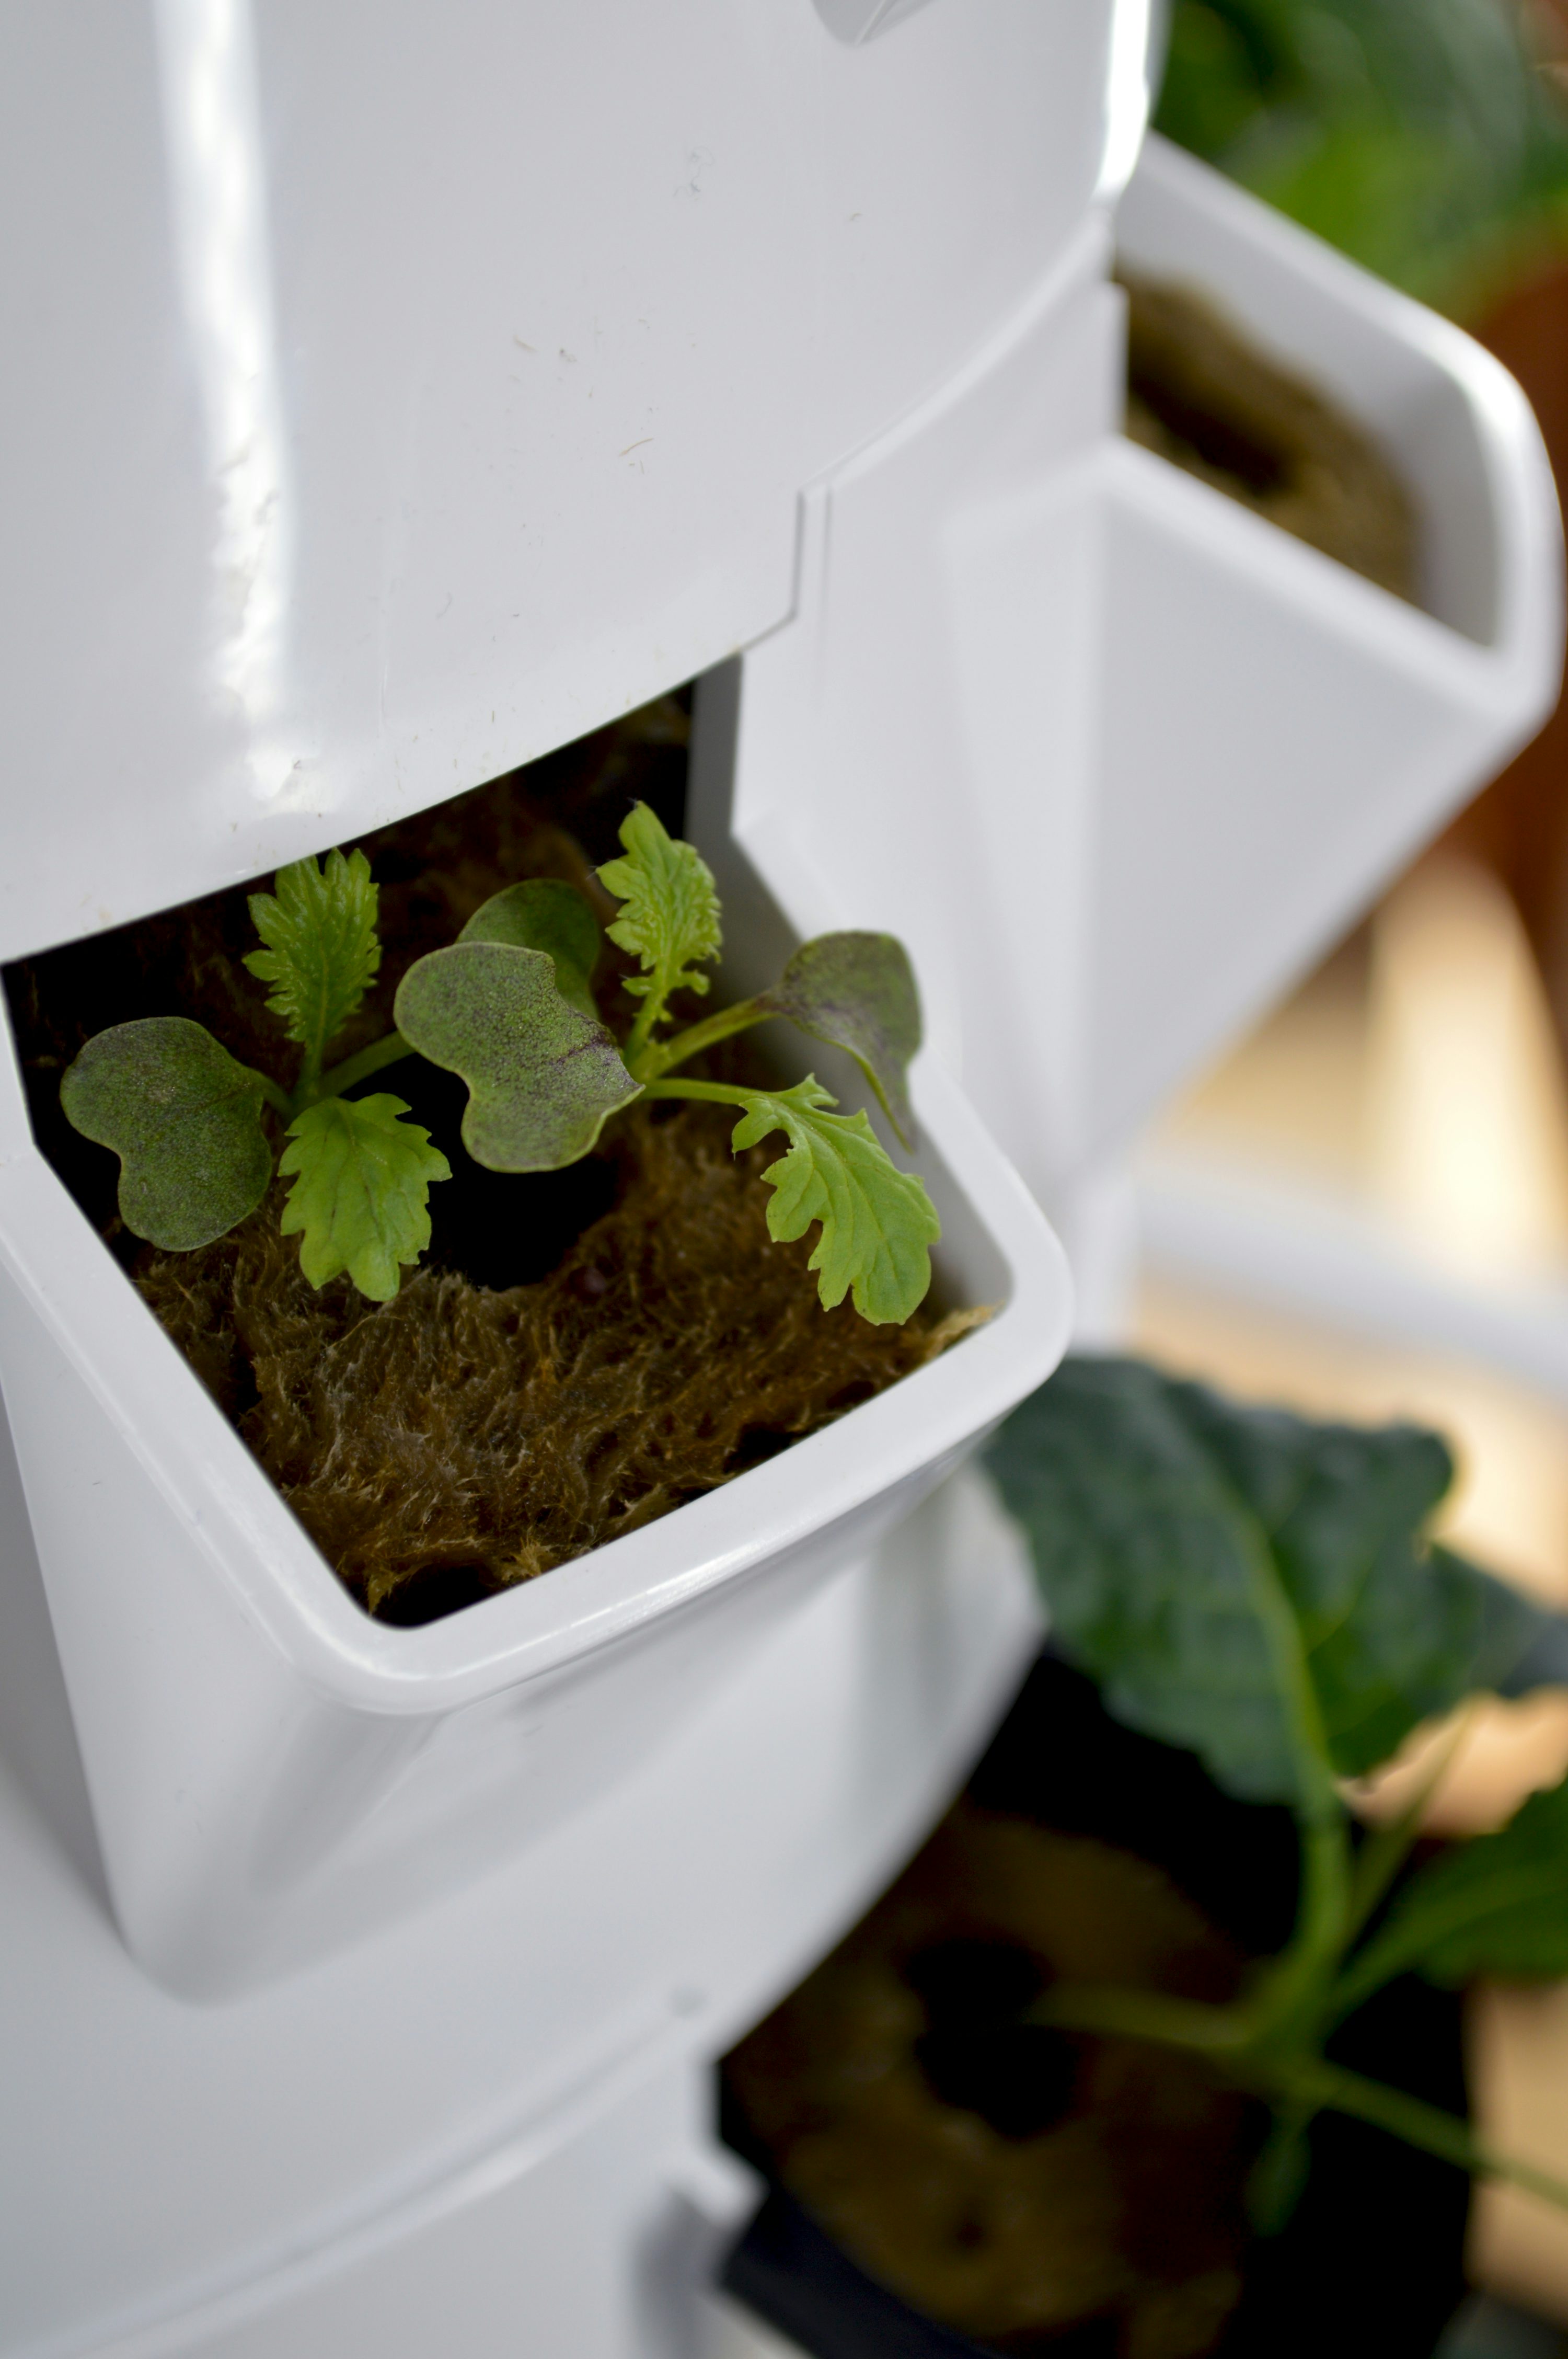
Sow and transplant
Start with small seeds in starter plugs or peat pots. Vertical systems often have limited soil volume, so give young roots a head start before moving them into the main structure. Transplant seedlings once they have their second set of true leaves. Handle the root ball gently to avoid shock. Space plants according to their mature size—crowding leads to disease and poor air circulation.
Fill small starter pots with a light, sterile seed-starting mix. Moisten the medium before placing seeds to ensure consistent contact.
Place seeds at the depth recommended on the packet. Cover lightly with soil or vermiculite. Keep the area humid but not wet.
Once seedlings develop true leaves, move them into the vertical tower or pocket. Ensure roots are snug but not cramped.
Prune for airflow
Vertical gardens are dense by design. Without intervention, leaves block light from reaching lower plants. Prune lower leaves that touch the structure or each other. Remove yellow or damaged foliage immediately to prevent mold. This practice improves light penetration and reduces humidity buildup, which is critical in enclosed indoor spaces.
Manage nutrients
Plants in vertical systems have limited access to soil nutrients. Feed them regularly with a balanced, water-soluble fertilizer. Follow the manufacturer's instructions for dilution; over-fertilizing burns roots. Check nutrient levels every two weeks. Adjust based on plant response—if leaves turn yellow, nitrogen may be low. If growth is stunted, phosphorus might be needed.
Monitor growth
Watch for signs of stress. Leggy, stretched plants need more light. Wilting despite wet soil may indicate root rot. Adjust grow light distance or duration accordingly. Consistent monitoring allows you to correct issues before they affect your harvest.
Troubleshoot common vertical issues
Vertical gardens create a unique microclimate where humidity, light, and airflow interact differently than in traditional soil beds. When things go wrong, they often do so quickly because the root zone is exposed or stacked. Identifying the specific symptom early allows for a targeted fix that saves the crop without starting over.
Fix root rot in hydroponic systems
Root rot is the most common failure in vertical hydroponics. It appears as slimy, brown roots that smell foul, often accompanied by yellowing leaves. This happens when oxygen levels in the water drop too low, allowing anaerobic bacteria to thrive.
To fix this, immediately remove the affected plants and trim away any mushy roots with sterilized scissors. Rinse the remaining healthy roots in a diluted hydrogen peroxide solution (1 part 3% peroxide to 9 parts water) to kill lingering pathogens. Increase aeration by adding an extra air stone to your reservoir or raising the water level slightly to expose more root mass to air. Keep the reservoir clean and out of direct sunlight to prevent algae, which competes for oxygen.
Correct light burn on upper tiers
Plants on the highest shelves often suffer from light burn if the grow lights are too close or too intense. Signs include leaves curling upward like a taco, bleaching (whitening) of the leaf surface, or dry, crispy tips. This stress reduces photosynthesis and can stunt growth permanently.
Move your LED grow lights further away from the canopy. A good rule of thumb is to start 12-18 inches above the tallest plant for full-spectrum LEDs, adjusting based on the specific manufacturer’s guidelines. If your lights have adjustable intensity, dim them slightly for the first week after moving them to let the plants acclimate. Ensure the lower tiers still receive enough light by checking for stretching or pale yellowing, which indicates they are now too far away.
Address poor airflow and mold
Vertical stacks can trap humid air between tiers, creating a breeding ground for mold or powdery mildew. If you see fuzzy white or gray spots on leaves or stems, airflow is insufficient.
Install a small oscillating fan to keep air moving gently but consistently across the entire structure. Avoid pointing the fan directly at the plants, which can dry them out; instead, aim it to create a circular breeze. Increase spacing between plants if they are touching, and prune any dense foliage to open up the canopy. This allows moisture to evaporate quickly, making the environment hostile to fungal growth.
No comments yet. Be the first to share your thoughts!