

Choose your vertical growing system
Selecting the right hardware is the first step in indoor vertical gardening. The two most common options are hydroponic towers and shelf systems. Your choice depends on how much floor space you have, your budget, and how much maintenance you are willing to do.
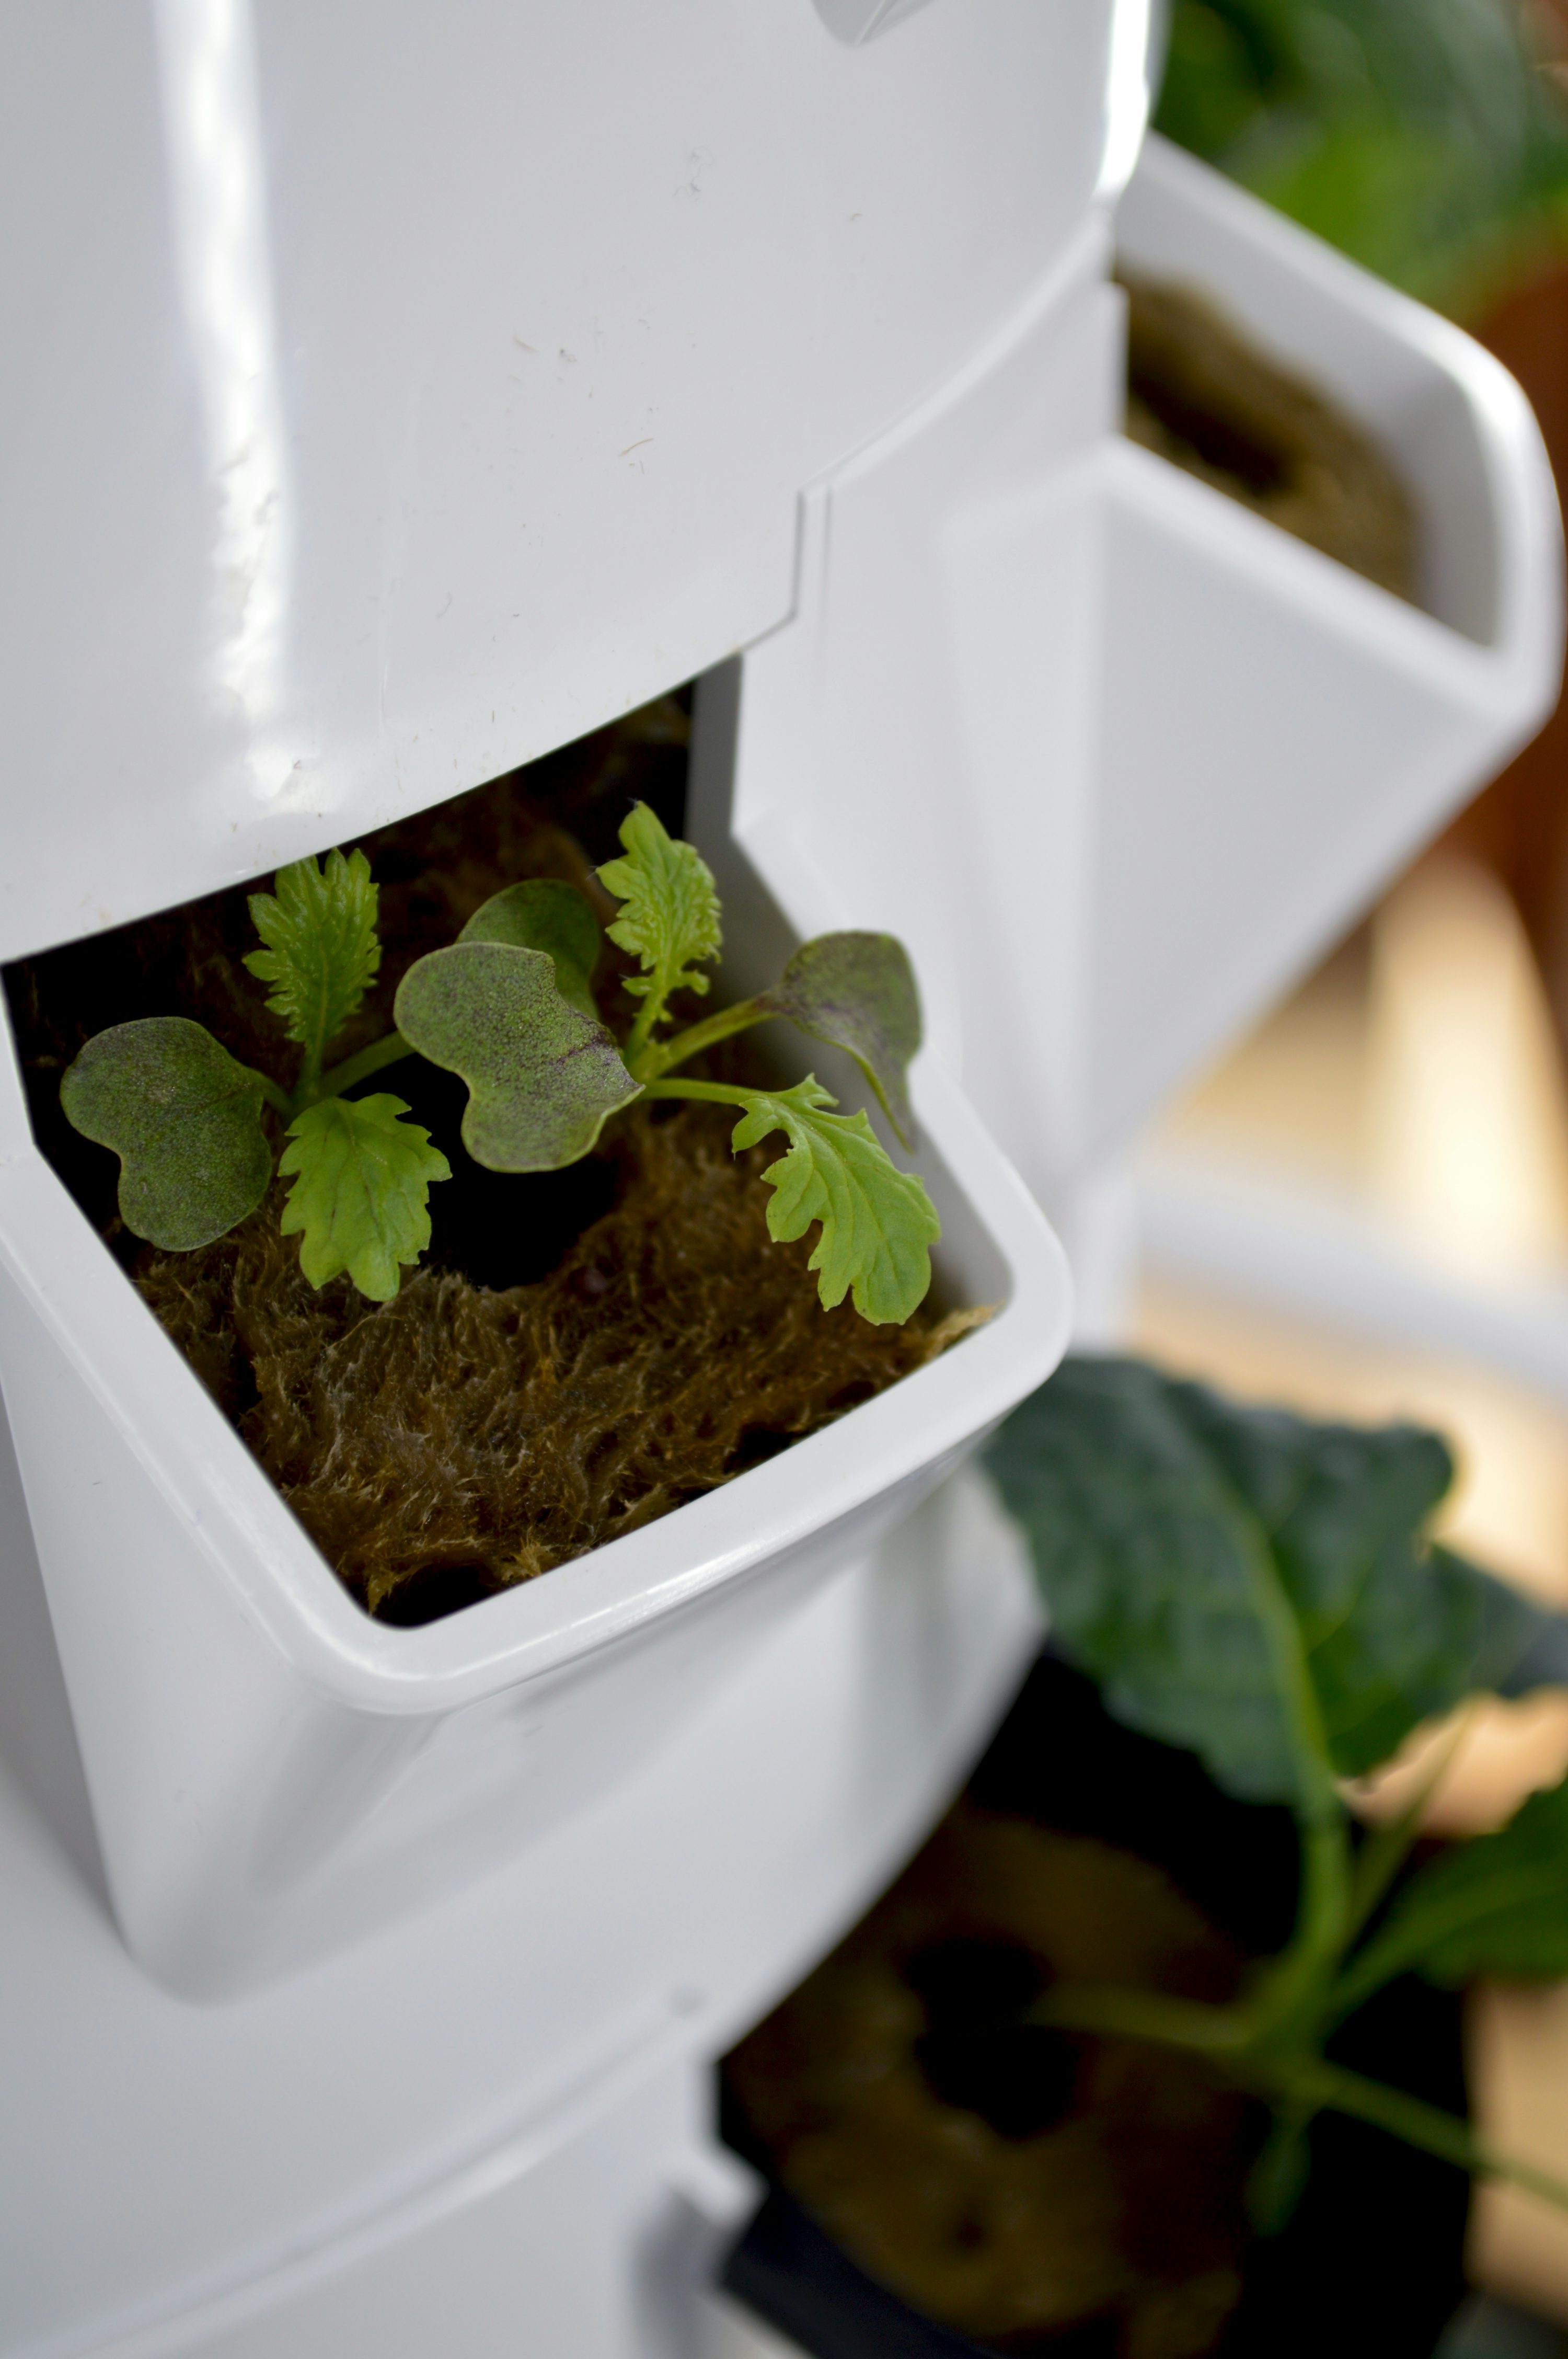
Hydroponic towers use water and nutrients to grow plants vertically. They are compact and fast, but they require electricity for pumps and lights. Shelf systems use soil or simple pots stacked on a rack. They are cheaper and quieter, but they take up more footprint and grow slower.
Use the table below to compare the main differences. This will help you decide which system fits your apartment or home office.
| Feature | Hydroponic Tower | Shelf System |
|---|---|---|
| Setup Cost | $100–$300+ | $50–$150 |
| Maintenance | High (pumps, nutrients, pH) | Low (watering, repotting) |
| Yield Speed | Fast (weeks) | Moderate (months) |
| Space Type | Small footprint, wall-mounted | Larger footprint, floor-standing |
| Skill Level | Intermediate | Beginner |
Select plants suited for vertical growth
Not every crop thrives in a vertical setup. The right plants use vertical space efficiently, while others waste light and air circulation on sprawling habits. When choosing plants for indoor vertical gardening, prioritize species that grow upward rather than outward.
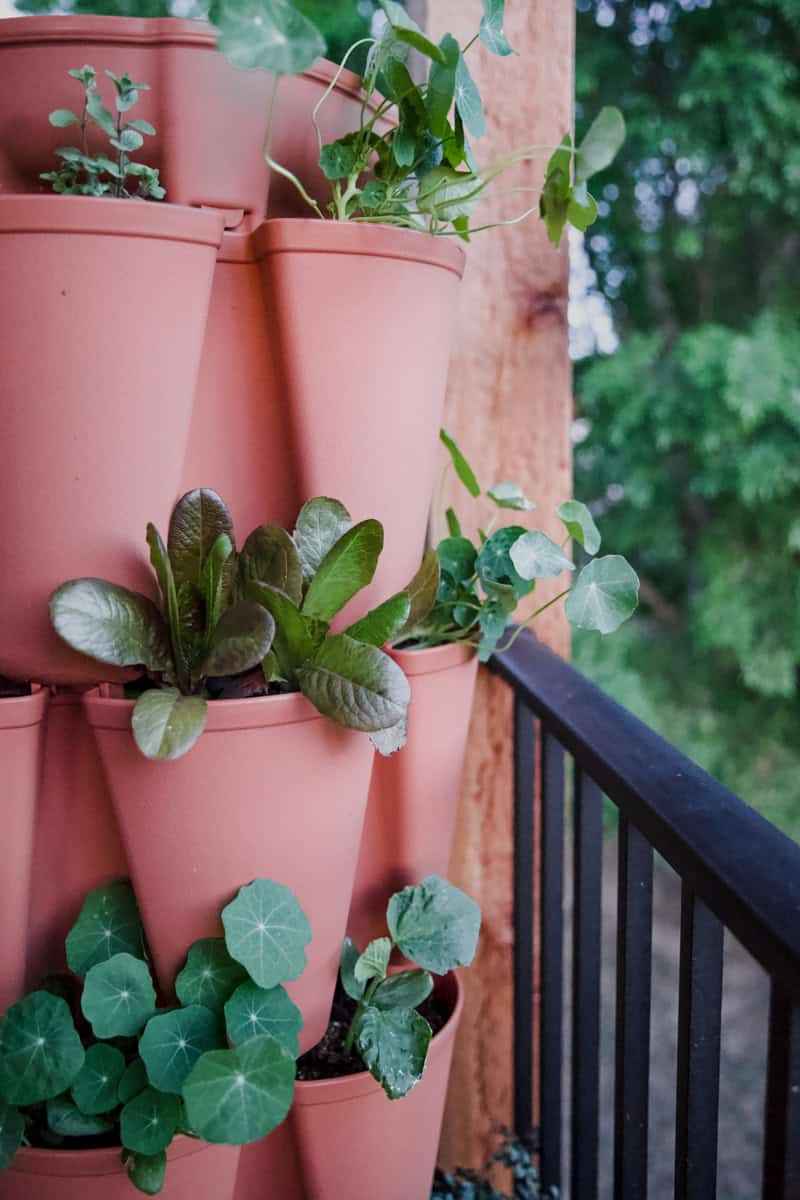
Strawberries are the standard for pocket-style vertical planters. They send runners down the sides, creating a living wall of fruit. Cucumbers and zucchini also work well if you provide a sturdy trellis or netting. These vining crops climb, keeping the fruit off the soil and saving horizontal floor space.
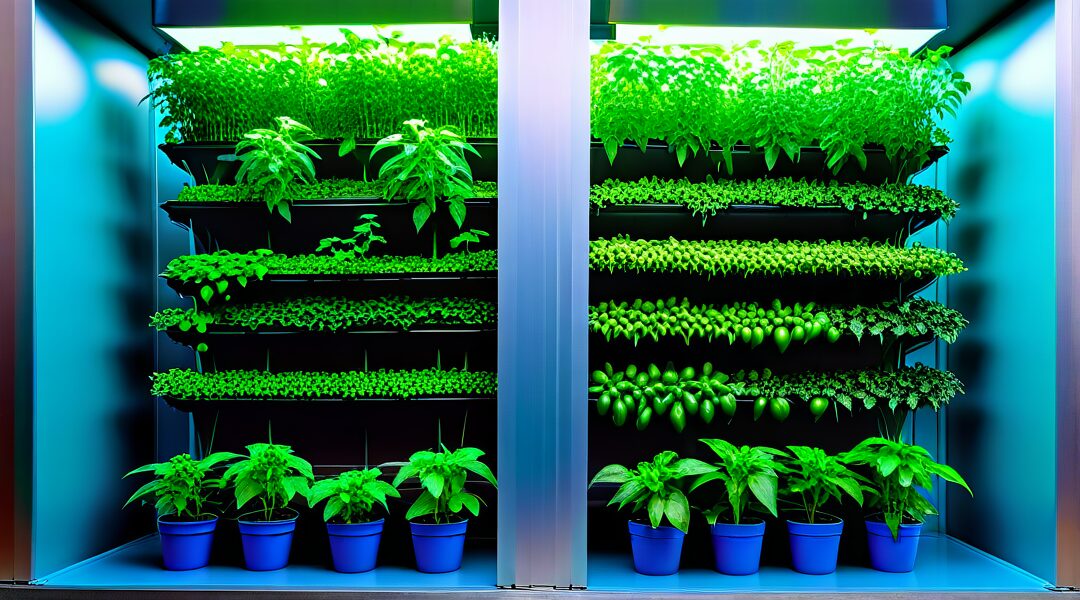
Avoid heavy, bushy plants like peppers or large tomatoes unless you have a robust support structure. They require wide canopies for light exposure and often outgrow narrow vertical pockets. Stick to lightweight, vining, or compact varieties to ensure your indoor vertical gardening system remains manageable and productive.
Set up lighting and location
Light is the engine of indoor vertical gardening. Without it, plants stretch weakly or stop growing entirely. You need to balance natural sunlight with artificial grow lights to keep your vertical system productive.
Choose the right spot
Start by finding a south-facing window that gets at least six hours of direct sun. This is the easiest way to power indoor vertical gardening with free energy. If your space lacks strong windows, move to a bright room and rely on full-spectrum LED grow lights. Place the lights 6 to 12 inches above the top of your plants, adjusting as they grow taller.
Check your window exposure. South-facing windows offer the most consistent light. If you only have north-facing windows, you will need to supplement with artificial lighting to succeed.
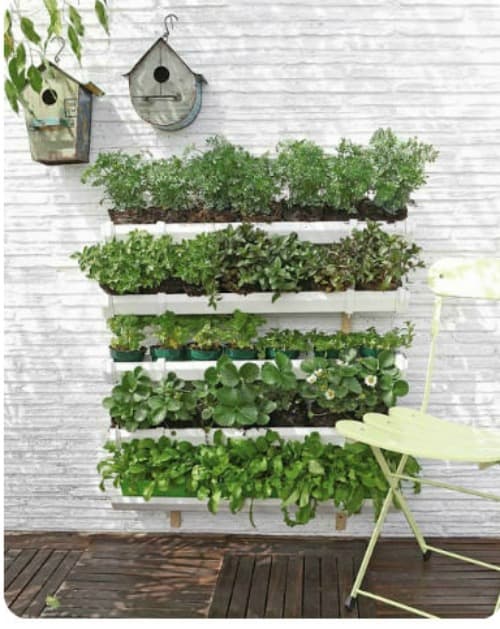
Place your vertical system so the top pods receive the most light. Gravity pulls nutrients down, so the top plants often grow fastest. Ensure the tower isn't touching a cold window pane in winter.
If natural light is insufficient, hang full-spectrum LEDs above the tower. Keep them 6 to 12 inches from the canopy. Use a timer to maintain a consistent 12 to 16-hour light cycle.
Manage heat and airflow
Grow lights generate heat that can stress plants in small spaces. Ensure your vertical garden has good airflow around it. A small oscillating fan helps strengthen plant stems and prevents mold in the humid environment created by hydroponic or soil-based vertical systems.
Plant and maintain your vertical garden
Planting your vertical garden is the moment the system comes alive. Whether you are using soil-based pockets or a hydroponic tower, the goal is to establish strong root systems without overcrowding. Start with the bottom tiers and work your way up, ensuring each plant has enough room for its mature size. This approach prevents upper plants from shading out those below and makes watering more even.
Planting the tiers
Begin by filling the bottom pockets or net pots with your growing medium. If using hydroponics, rinse the roots of your seedlings gently to remove any excess nutrient gel or soil. Place each plant into its designated slot, securing it firmly so it doesn’t fall out when you water. For soil-based systems, press the medium lightly around the base to eliminate air pockets.
Fill the remaining pockets with medium, leaving about an inch of space at the top for watering. Avoid packing the medium too tightly; roots need oxygen to breathe. Once all tiers are planted, give the entire structure a thorough watering to settle the medium and ensure every root zone is moist. This initial soak helps reduce transplant shock and jumpstarts growth.
Watering and nutrient care
Vertical gardens dry out faster than ground gardens because water drains through each tier. Check moisture levels daily, especially in the first two weeks. For hydroponic systems, monitor the reservoir level and refill as needed. Most vertical towers use 98% less water than traditional gardening, but consistency is key to preventing root burn.
If your system uses soil, water from the top and allow excess to drain from the bottom. This ensures all tiers receive moisture. For hydroponic setups, check the pH and nutrient strength weekly. Adjust nutrients according to the plant’s growth stage—leafy greens need more nitrogen, while fruiting plants require more phosphorus and potassium.
Pruning and harvesting
Regular pruning keeps your vertical garden healthy and productive. Remove any yellow or dead leaves immediately to prevent disease and improve air circulation. For leafy greens, harvest outer leaves first, allowing the center to continue growing. This method extends the harvest period and keeps the plant vigorous.
Trim any leggy stems that grow too long or block light from lower tiers. Pinch back the tips of herbs like basil to encourage bushier growth. Harvesting regularly also signals the plant to produce new shoots, maximizing your yield in a small space.
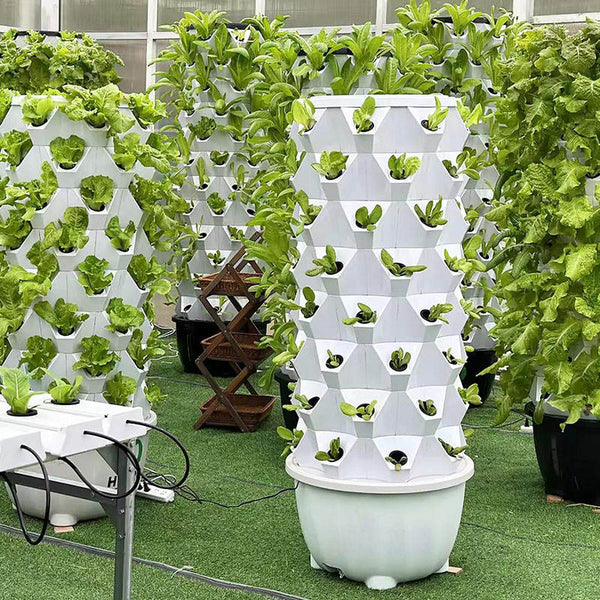
Assemble your vertical garden unit according to the manufacturer’s instructions. Ensure all tiers are level and the water reservoir is clean. If using a hydroponic system, fill the reservoir with water and add the starter nutrients as directed.
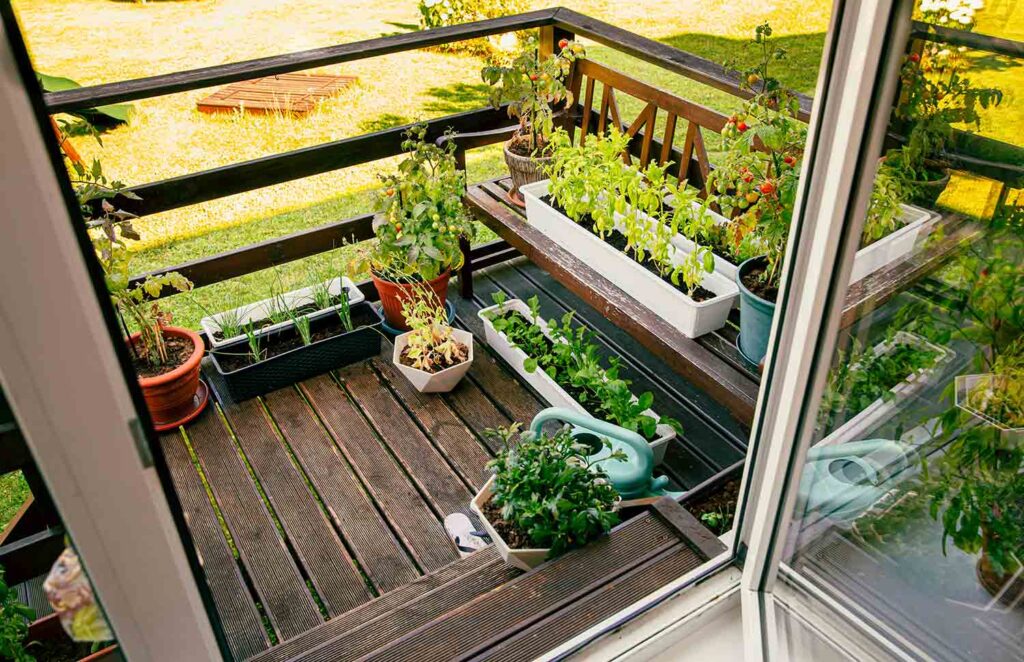
Start with the lowest tier. Place seedlings into net pots or pockets, securing them gently. Fill in around the roots with your chosen medium. Move upward, ensuring each plant is stable and has enough space for its roots to spread without crowding its neighbors.
Thoroughly water all tiers immediately after planting. For hydroponic systems, this helps settle the roots and remove air pockets. For soil-based systems, ensure the medium is evenly moist. Check that drainage is working correctly and no water is pooling excessively at the bottom.
Check moisture levels daily. Top up the reservoir for hydroponic systems or water soil tiers from the top. Monitor plant health for signs of nutrient deficiency or pests. Adjust lighting if plants appear leggy or pale.
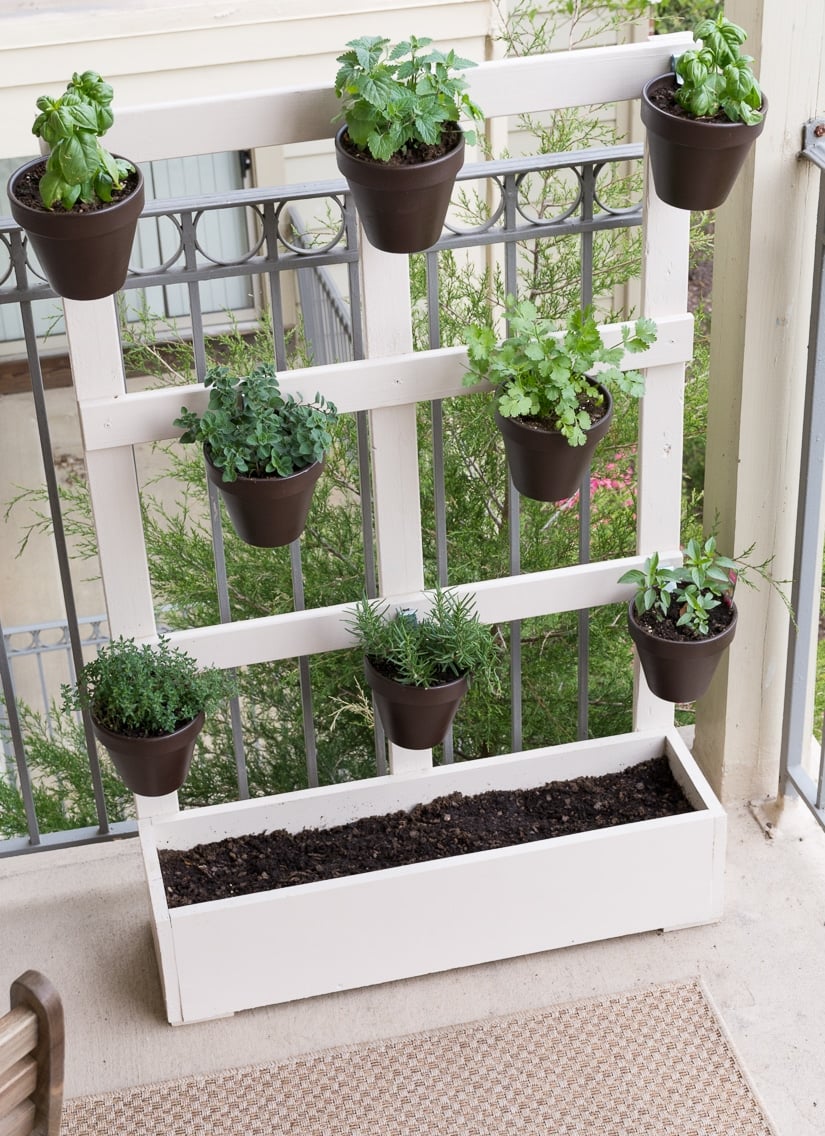
Harvest outer leaves first to encourage continuous growth. Trim any dead or diseased leaves to improve air circulation. Pinch back herb tips to promote bushier growth. Regular harvesting keeps the plants productive and prevents overcrowding.
Fix common indoor vertical gardening issues
Vertical setups concentrate resources, which means small problems can spread quickly. When you see yellowing leaves, wilting, or pests, act fast. Here is how to diagnose and fix the three most common hurdles in indoor vertical gardening.
Stop root rot before it spreads
Root rot is the silent killer of vertical systems. In soil-based vertical planters, water pools at the bottom if drainage is poor. In hydroponics, stagnant water invites Pythium, a fungus that chokes roots. Check your roots weekly. Healthy roots are white or tan; rotten roots are brown, slimy, and smell bad.
To fix this, trim away any mushy roots with sterilized scissors. For soil setups, let the top two inches dry out completely between waterings. For hydroponic systems, replace the nutrient solution and clean the reservoir with a hydrogen peroxide mix (3% concentration) to kill spores. Ensure your pump is running and your pots have adequate air holes.
Handle pests without toxic chemicals
Indoor vertical gardens attract spider mites, aphids, and fungus gnats. Because your plants are stacked, pests can climb from one level to another instantly. You need a non-toxic approach that protects your indoor air quality.
Start with a strong blast of water to dislodge visible insects. Follow up with neem oil spray, applied to the undersides of leaves where pests hide. If fungus gnats are your issue, let the top layer of soil dry out completely and use yellow sticky traps near the base. For hydroponics, check your air stones for biofilm buildup, which gnats love to lay eggs in.
Boost fruiting in vertical spaces
Many vertical gardeners grow leafy greens successfully but struggle with fruiting plants like tomatoes or peppers. The issue is usually light intensity or pollination. Vertical structures often shade lower plants, and indoor environments lack natural wind or bees for pollination.
Rotate your fruiting plants every few days to ensure even light exposure. If you are growing in a corner, use a reflective mylar sheet behind the unit to bounce light back onto the leaves. For pollination, gently shake flowering stems daily or use a small electric toothbrush to vibrate the flowers, mimicking bee vibration. This simple action can double your yield.
Indoor vertical gardening checklist
Before you mount your first planter, gather the essentials. This final indoor vertical gardening checklist ensures you have the hardware, environment, and plant materials ready to go.
- Structural hardware: Wall anchors rated for the weight of wet soil or water reservoirs, plus a level and stud finder.
- Lighting: Full-spectrum LED grow lights positioned to cover the vertical face, with a timer to automate the photoperiod.
- Watering system: Drip irrigation kit, reservoir, or self-watering pots depending on whether your setup is hydroponic or soil-based.
- Growing medium: Peat-free coco coir or expanded clay pebbles that provide aeration without compacting in tight vertical pockets.
- Plant stock: Seedlings or clones suited for your light levels, such as herbs, leafy greens, or trailing vines like pothos.
No comments yet. Be the first to share your thoughts!