
Choose the right vertical system
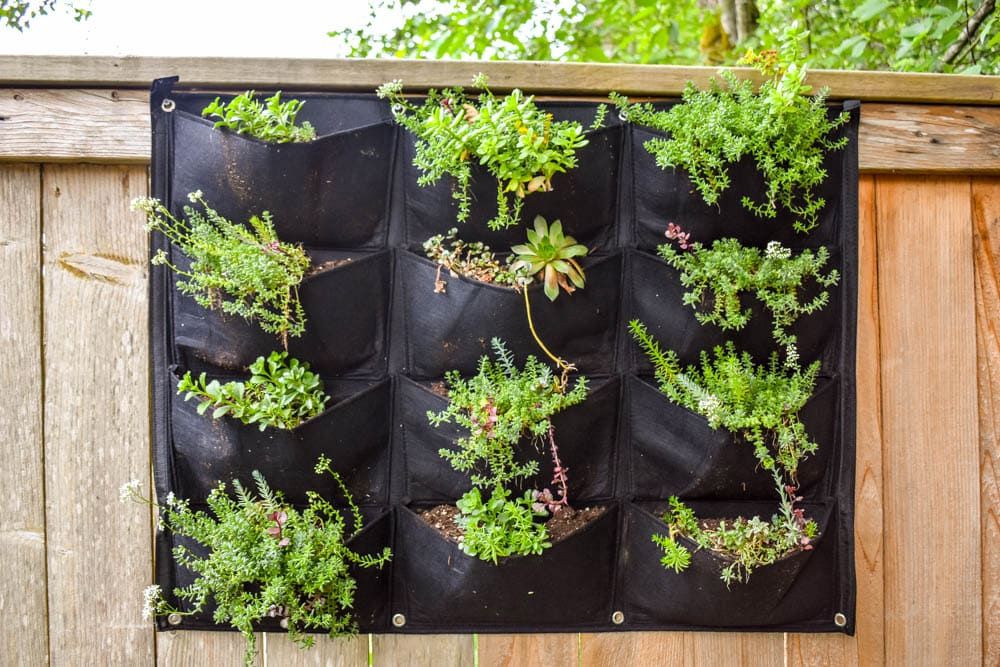
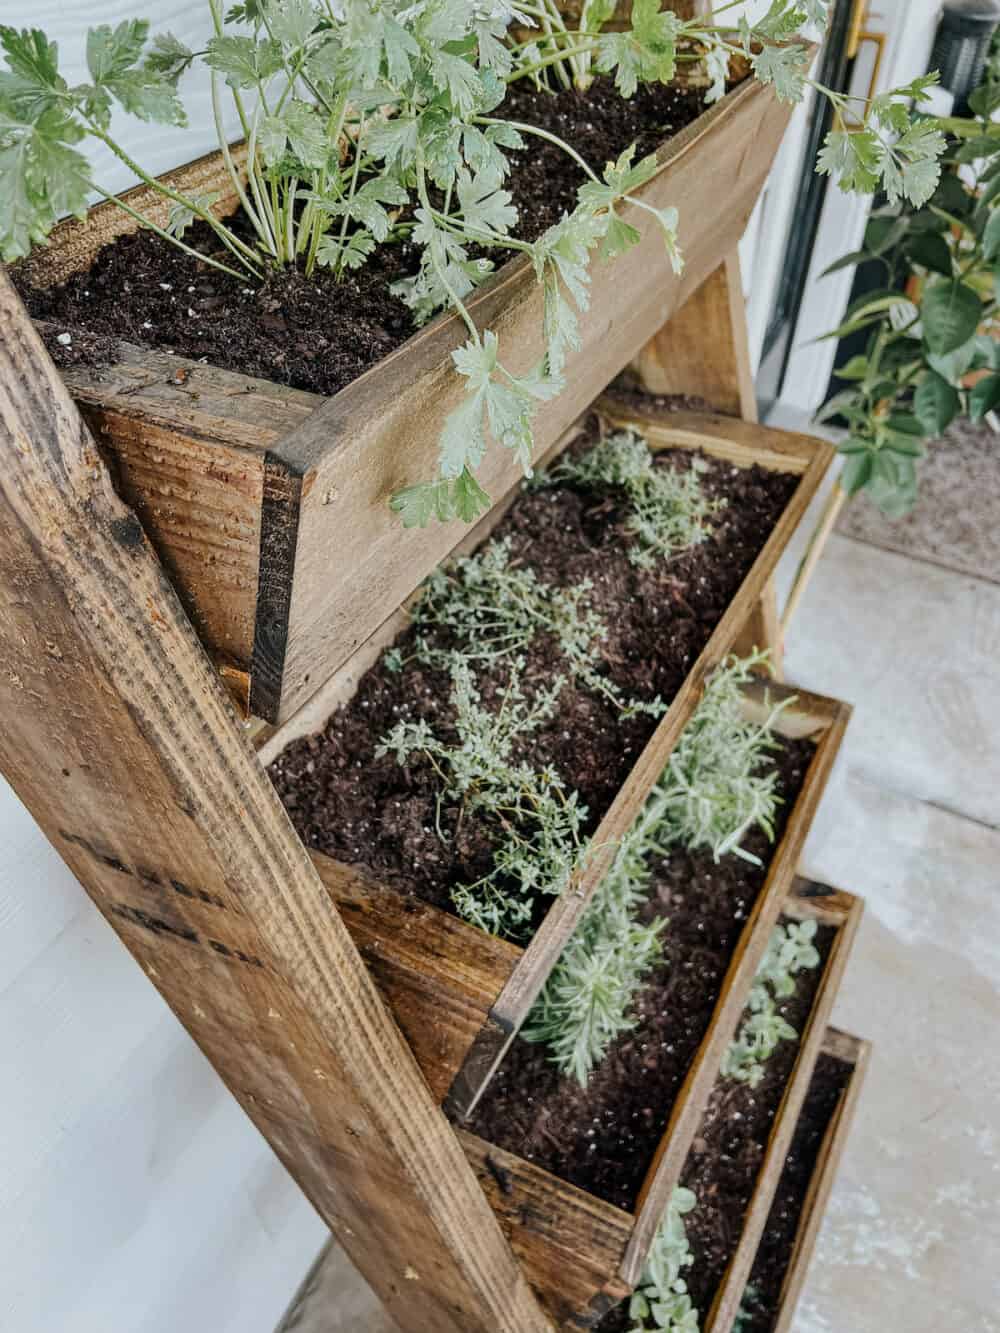
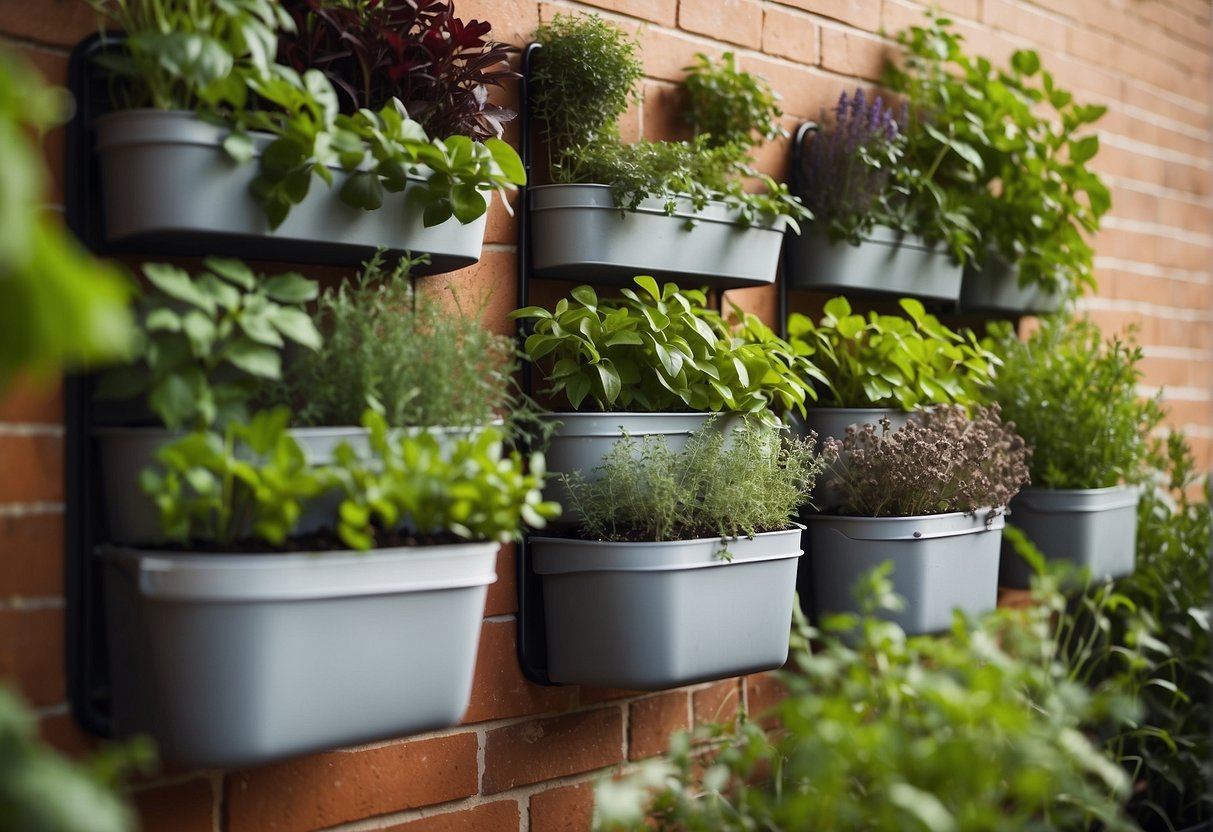
Selecting the right structure for indoor vertical gardening starts with matching the system to your available floor space and the weight of the crops you intend to grow. A tall, narrow tower maximizes square footage but requires careful load management, while a wider rack system offers stability for heavier plants like zucchini or tomatoes. Pocket-style planters are best for lightweight herbs and leafy greens, offering flexibility but limited structural support.
Before buying, measure your ceiling height and floor area. Ensure the system fits your light setup and that your floor can support the water weight of a fully loaded tower. For heavy fruiting crops, prioritize rigid frames over flexible fabric pockets to prevent sagging and structural failure.
Compare systems side-by-side
Use the table below to compare the three main indoor vertical gardening structures. This comparison focuses on cost, space efficiency, and crop suitability to help you make a practical decision.
| System Type | Space Footprint | Cost Range | Best For |
|---|---|---|---|
| Pocket Wall | Low (Wall-mounted) | $20-$50 | Herbs, leafy greens, lightweight plants |
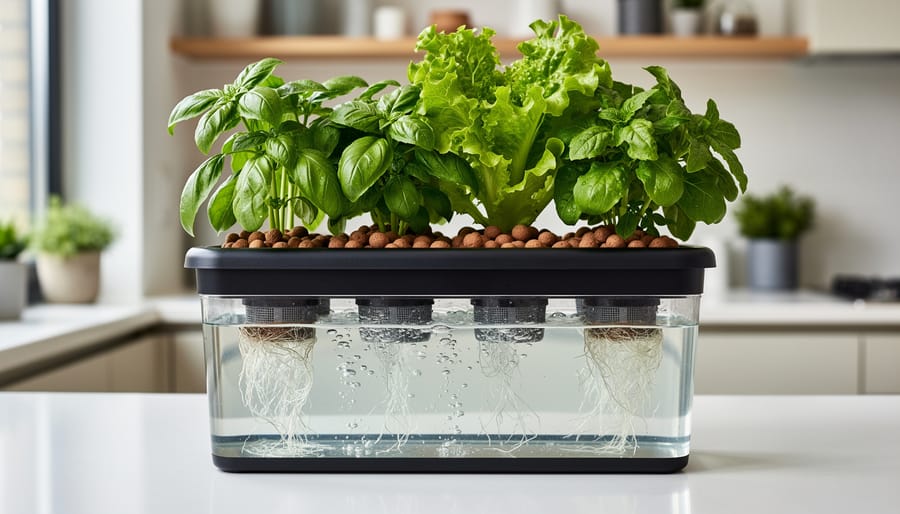
| Hydroponic Tower | Medium (Tall, narrow) | $100-$300 | High-density leafy greens, strawberries |
| Vertical Rack | High (Wide, multi-tier) | $50-$150 | Heavy crops (zucchini, tomatoes), large plants |
Position lights and location
Light is the engine of indoor vertical gardening. Without it, even the best hydroponic system produces weak, leggy plants. Fruiting crops like strawberries and cucumbers demand the most intensity, requiring 12 to 16 hours of direct, high-quality light daily. Positioning your system correctly ensures these plants receive enough energy to produce actual fruit rather than just leaves.
Choose the right spot
Start by placing your vertical garden near the brightest window in your home, ideally one facing south or west. This provides a baseline of natural light that reduces the load on your artificial fixtures. If your space lacks a sunny window, or if you want consistent yields regardless of the season, you will need to rely entirely on grow lights.
Install grow lights
For fruiting plants, standard LED bulbs are rarely enough. You need full-spectrum LED grow lights designed to mimic the sun’s output. Mount these lights directly above the vertical tower or wall system. The distance is critical: keep lights 6 to 12 inches above the foliage as plants grow. Too far, and the light intensity drops; too close, and you risk burning the leaves.
Adjust for growth stages
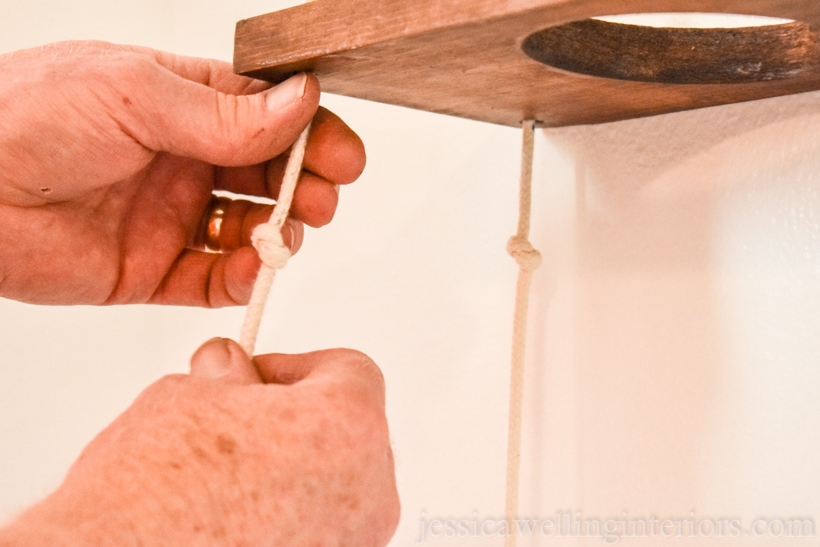
As your vertical garden expands, the lower tiers may receive less light than the top. Use adjustable hangers or tracks to raise the light source as the plants grow taller. For dense vertical setups, consider adding a secondary light source at the bottom or using reflective materials behind the system to bounce light back onto the lower leaves. This ensures every pocket in your vertical garden gets equal attention.
Place your vertical garden near a south-facing window. Observe how many hours of direct sunlight the location receives daily. If it gets less than four hours, plan for artificial lighting as the primary source.
Hang full-spectrum LED grow lights above the top tier of your vertical garden. Use adjustable chains or tracks so you can lower the lights as the plants grow taller, keeping them 6 to 12 inches from the leaves.
Connect your lights to a digital timer. Set it to provide 12 to 16 hours of light per day, mimicking a long summer day. This consistency is vital for fruiting plants like strawberries and cucumbers to set fruit.
Line the back or sides of your vertical garden with reflective material like Mylar or white paint. This bounces light onto the lower leaves, ensuring even growth throughout the entire vertical structure.
Plant strawberries and cucumbers vertically
Strawberries and cucumbers are the workhorses of indoor vertical gardening. Strawberries thrive in hanging pockets where the fruit dangles freely, avoiding soil-borne diseases. Cucumbers need more structural support, climbing up trellises or netting to keep vines off the ground. Both crops demand consistent moisture and bright light, making them ideal candidates for a well-placed vertical system.
Prepare the growing medium
Fill your vertical planter with a lightweight, well-draining potting mix. Standard garden soil is too heavy and will compact, suffocating roots in a vertical setup. For cucumbers, mix in a slow-release fertilizer at planting time. Strawberries benefit from a slightly higher potassium ratio to encourage fruiting. Water the soil thoroughly before planting to ensure the roots start in a moist environment.
Place the seedlings
For strawberries, remove the plant from its nursery pot and gently tease the roots apart. Place the crown—the point where stems meet roots—level with the soil surface. Burying the crown too deep will cause rot. For cucumbers, plant two seeds per cell or pocket at a depth of about half an inch. Once germinated, thin to the strongest seedling. Ensure the root ball is firmly nestled into the pocket to prevent it from falling out when you water.
Install support structures
Strawberries need little support beyond the planter itself, but cucumbers require immediate vertical guidance. Attach a trellis, trellis net, or string system to the frame of your vertical garden before the vines get heavy. Train the cucumber tendrils gently onto the support structure. This prevents tangling and ensures even light exposure for all leaves. Check the supports weekly as the vines grow rapidly in indoor conditions.
Water and monitor
Vertical gardens dry out faster than ground beds because water drains through the entire column. Check moisture levels daily by inserting your finger into the soil. Water from the top, allowing excess to drain from the bottom. For cucumbers, maintain consistent humidity to prevent spider mites. Strawberries prefer slightly drier conditions between waterings to avoid fungal issues. Adjust your watering schedule based on the light intensity and temperature of your indoor space.
Maintain water and nutrients
Water and nutrients are the lifeblood of indoor vertical gardening. Because the root zone is small and exposed, plants dry out faster and deplete nutrients more quickly than in ground soil. Your maintenance routine depends entirely on your system type.
Insert your finger about an inch into the growing medium. If it feels dry, water immediately until it drains from the bottom. For soil-based vertical gardens, consistency is key; let the top layer dry slightly between waterings to prevent root rot, but never let the entire root ball desiccate.
In hydroponic systems, water evaporates and plants drink, causing the reservoir level to drop rapidly. Top off the tank with fresh, dechlorinated water every two to three days. This method uses up to 98% less water than traditional gardening, but it requires strict vigilance to keep the pump running and the roots submerged.
Soil plants need slow-release fertilizer or monthly liquid feed. Hydroponic plants require a constant stream of dissolved nutrients. Mix water-soluble fertilizer according to the manufacturer’s instructions, but start at half-strength to avoid burning the roots. Check the pH weekly; most leafy greens prefer a range between 5.5 and 6.5.
Healthy roots are white or light tan. Brown, slimy roots indicate rot from overwatering or poor oxygenation. Inspect leaves for yellowing or spotting, which signals nutrient deficiency or pest issues. Prune dead foliage promptly to improve air circulation and direct energy toward new growth.
-
Check soil moisture or reservoir level daily
-
Top off hydroponic water every 2-3 days
-
Test and adjust pH levels weekly
-
Prune dead or yellowing leaves
-
Clean pump intakes and nozzles monthly
No comments yet. Be the first to share your thoughts!