
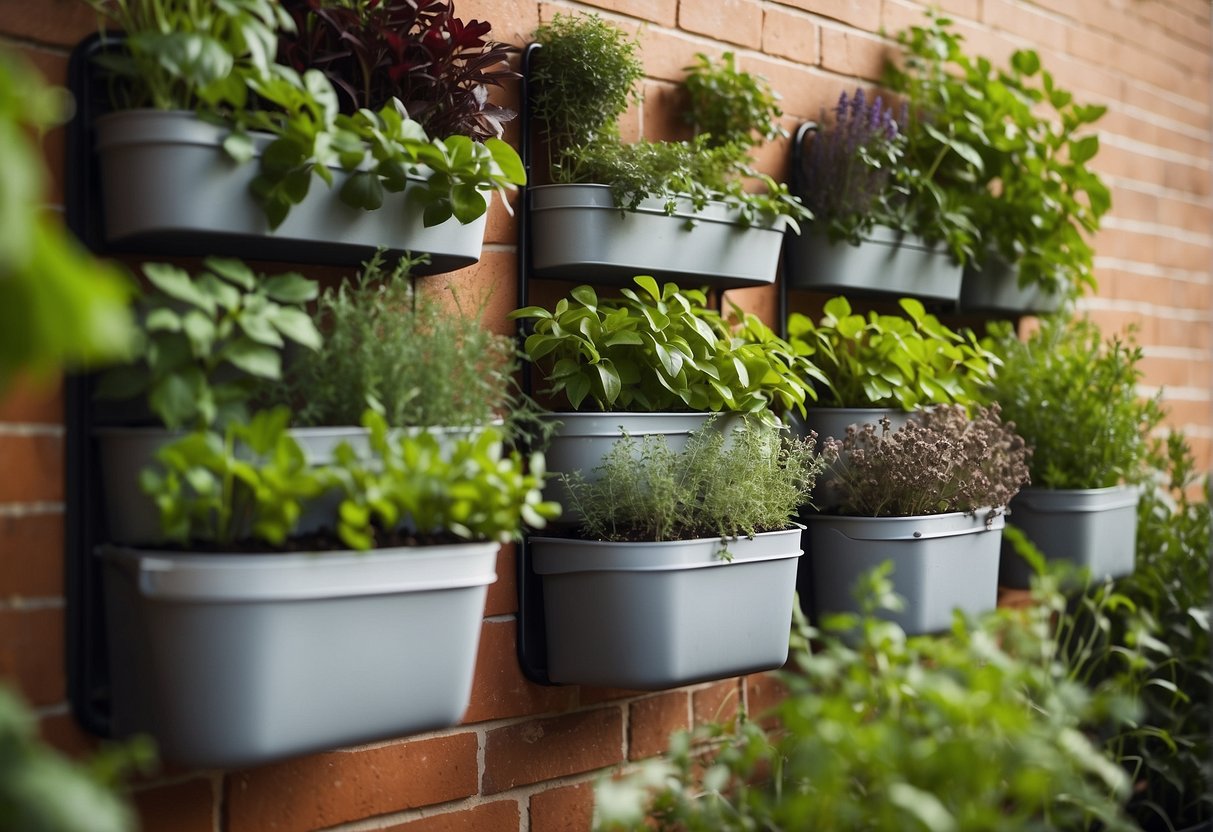
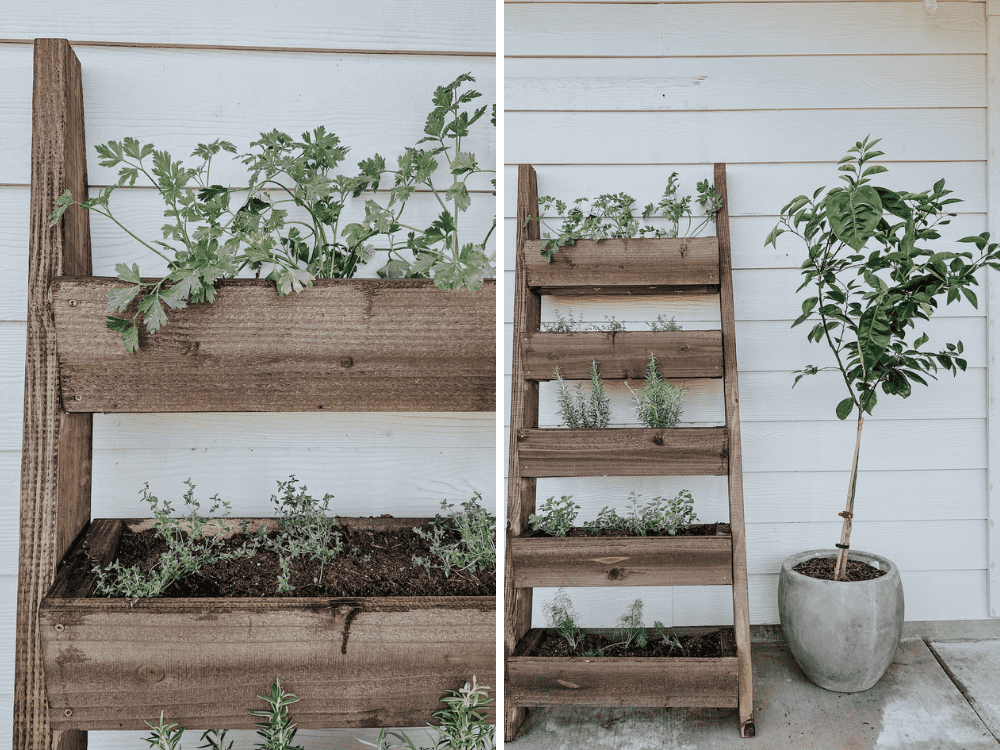
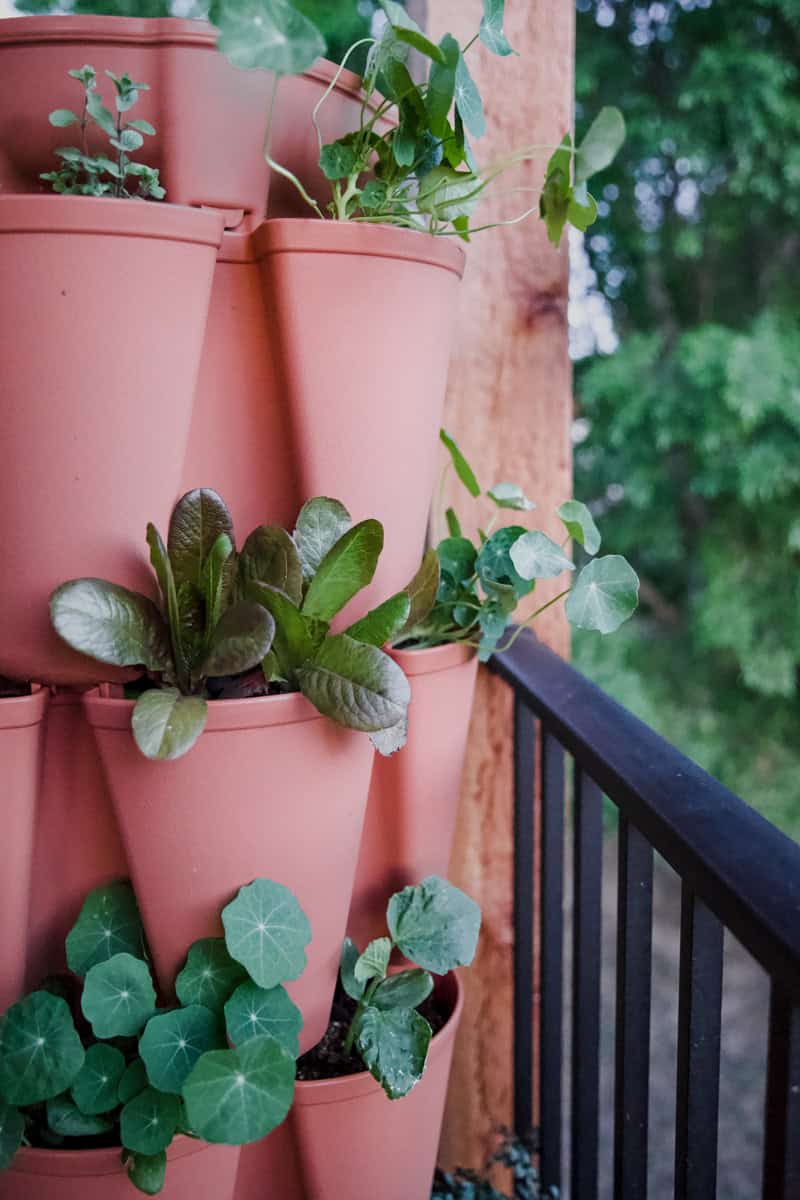
Pick the right vertical system
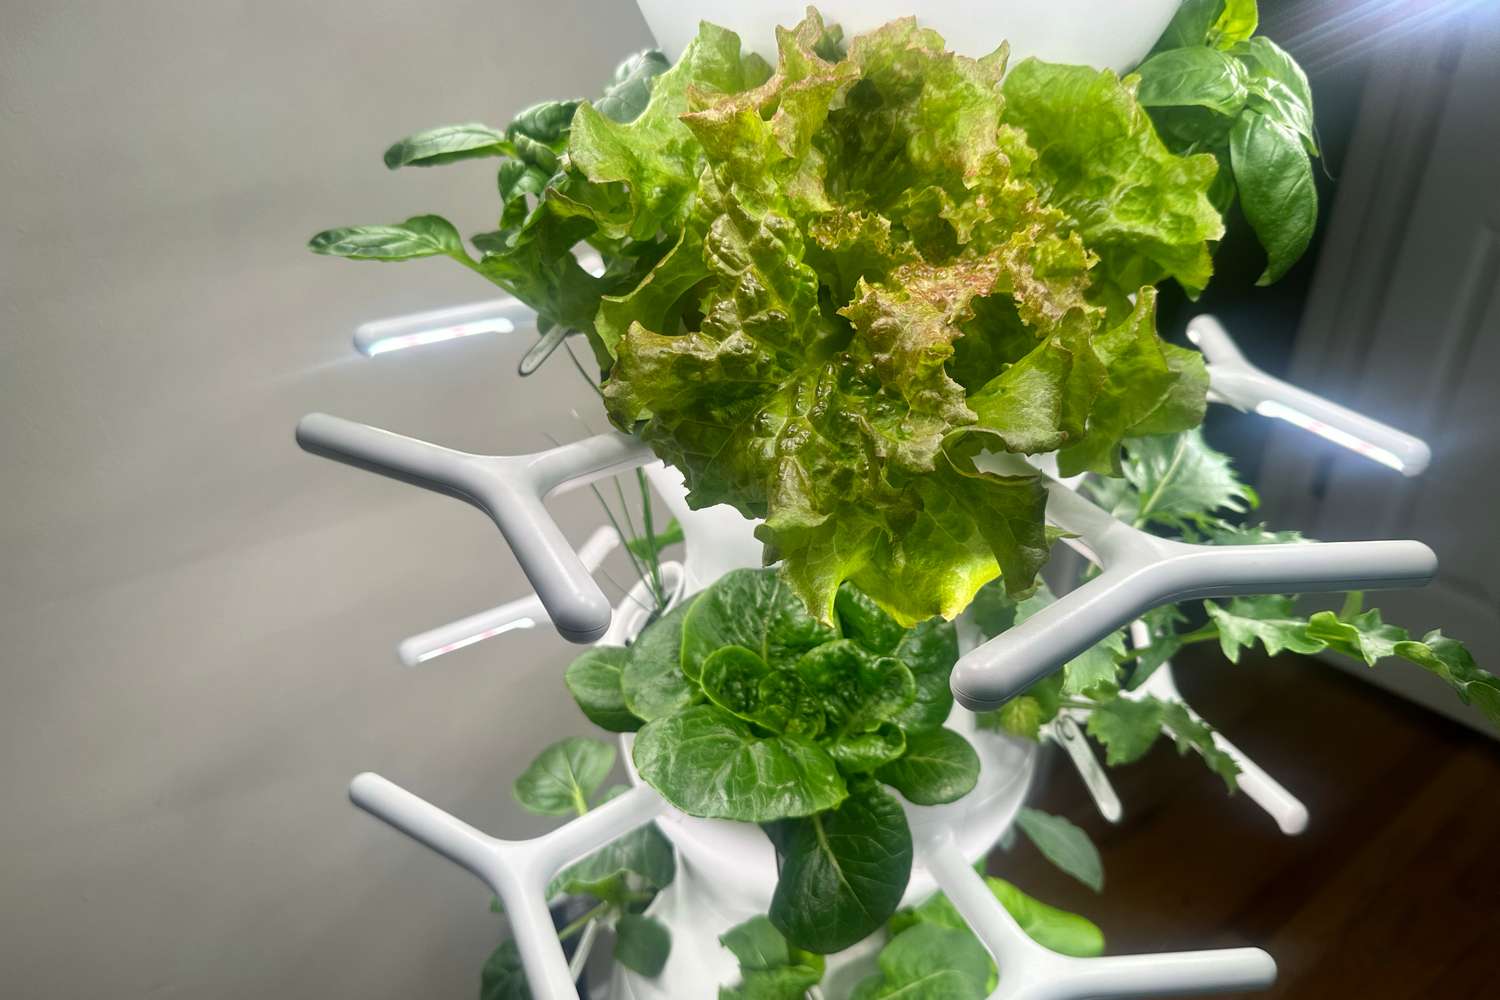
Your choice of indoor vertical gardening system depends on floor space and maintenance tolerance. The three main options are DIY racks, hydroponic towers, and stackable planters. Each has different requirements for light, water, and structural support.
| System Type | Est. Cost | Complexity | Yield (Leafy Greens) |
|---|---|---|---|
| DIY Shelves | $50–$150 | Low | Medium |
| Hydroponic Tower | $100–$300 | High | High |
| Stackable Planters | $30–$80 | Low | Low–Medium |
DIY shelving units are the most budget-friendly. Use standard metal or wooden shelves with clip-on LED grow lights. This setup is flexible but requires manual watering and soil moisture monitoring. It suits beginners experimenting with varieties without large financial commitment.
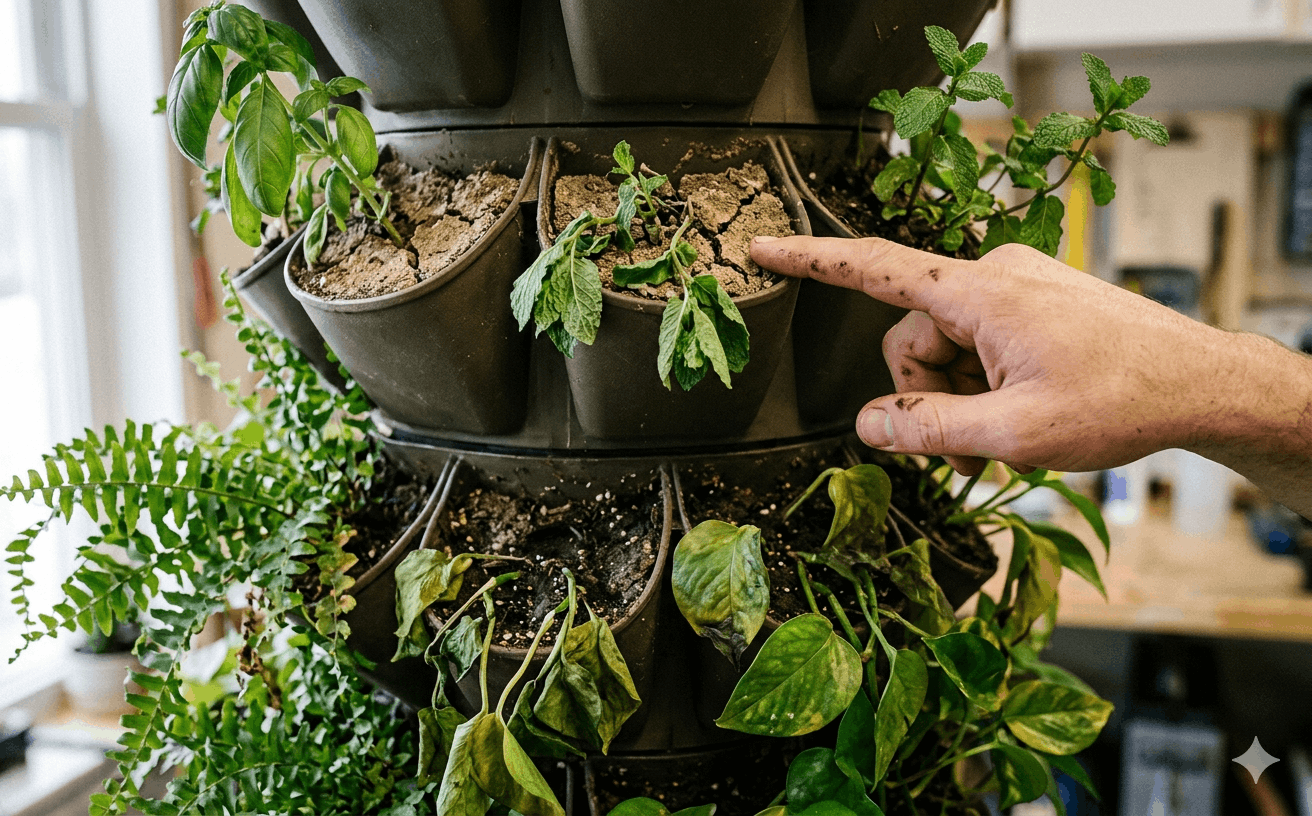
Hydroponic towers use water and nutrients instead of soil. Plants grow vertically in stacked columns or tubes. They produce the highest yield per square foot because roots are constantly submerged in oxygenated water. However, they require electricity for pumps and lights, and you must mix nutrient solutions regularly. This is the most efficient choice for maximizing harvest in small apartments.
Stackable planters are simple pots that fit into one another. They are the easiest to set up but offer the least growing space. Water often drains from the top tier to the bottom, leading to uneven moisture levels. This system is best for herbs and small salad greens in very limited spaces where you want a tidy, modular look.
Set up lighting and airflow
Indoor vertical gardens depend on light spectrum and air movement. Without them, seedlings stretch weakly or succumb to mold. Treat these as the foundation before planting.
Choose full-spectrum LED lights
Full-spectrum LEDs mimic natural sunlight, providing the red and blue wavelengths plants need for photosynthesis. Modern LEDs run cool and efficient, allowing you to hang them closer to vertical pockets without burning foliage. Aim for a fixture labeled "full spectrum" or "grow light" with a color temperature between 2700K and 6500K. This range supports both vegetative growth and flowering for herbs or edibles.
Position your light 6–12 inches above the top tier. Adjust the height as plants grow to maintain consistent intensity. Most LED grow lights come with adjustable cords or hanging kits designed for vertical setups, keeping the light source focused on the leaves.
Ensure proper air circulation
Stagnant air is the enemy. Without movement, humidity pools around leaves, creating a breeding ground for powdery mildew and root rot. A simple oscillating fan or exhaust fan keeps air moving, strengthening plant stems and regulating temperature.
Place a small clip-on fan or desk fan so it gently shakes the leaves, not blasts them. The goal is a breeze, not a windstorm. Good airflow also helps CO2 reach leaves more efficiently. If using a sealed grow cabinet, ensure your exhaust fan cycles air at least once every few minutes to prevent heat buildup.
Attach your full-spectrum LED bar or panel to the top of your vertical garden frame using the included mounting hardware. Ensure it is level and securely fastened to support the weight.
Lower the light so it sits 6–12 inches above the top tier of plants. As your vertical garden grows, raise the fixture to maintain this distance and prevent light burn.
Place a small oscillating fan nearby, angled to create a gentle breeze across the leaves. This strengthens stems and reduces humidity buildup that leads to mold.
Plant strawberries and cucumbers
Strawberries and cucumbers are forgiving crops for indoor vertical gardening. They thrive in compact root zones and adapt well to limited soil volume. Strawberries send runners that drape over the sides, while cucumbers climb upward, making both ideal for space-saving setups.
Step 1: Choose compact varieties
Select bush-type strawberries and bush cucumbers. Standard cucumber vines grow too long for most indoor vertical towers. Bush varieties keep the plant manageable and focus energy on fruit production rather than excessive foliage.
Step 2: Prepare the planting pockets
Fill the vertical tower pockets with a lightweight, well-draining potting mix. Avoid heavy garden soil, which compacts in vertical systems and suffocates roots. Moisten the mix before planting to reduce transplant shock.
Step 3: Plant the strawberries
Place strawberry crowns at the soil line. Do not bury the crown, or the plant will rot. Space plants evenly around the tower to ensure each receives adequate light. Water gently to settle the roots.
Step 4: Install cucumber supports
Insert a trellis or netting into the center of the tower or along the outer edge. Cucumbers need vertical support to climb. Guide the main vine upward and tie it loosely with soft plant ties as it grows. This keeps the fruit off the leaves and improves air circulation.
Step 5: Initial watering and lighting
Water both crops thoroughly after planting. Ensure the vertical system drains excess water to prevent root rot. Place the tower under grow lights for 12–14 hours daily. Strawberries need consistent moisture; cucumbers prefer slightly drier periods between waterings to encourage fruiting.
Choose bush-type strawberries and bush cucumbers. Standard cucumber vines grow too long for most indoor vertical towers. Bush varieties keep the plant manageable and focus energy on fruit production rather than excessive foliage.
Fill the vertical tower pockets with a lightweight, well-draining potting mix. Avoid heavy garden soil, which compacts in vertical systems and suffocates roots. Moisten the mix before planting to reduce transplant shock.
Place strawberry crowns at the soil line. Do not bury the crown, or the plant will rot. Space plants evenly around the tower to ensure each receives adequate light. Water gently to settle the roots.
Insert a trellis or netting into the center of the tower or along the outer edge. Cucumbers need vertical support to climb. Guide the main vine upward and tie it loosely with soft plant ties as it grows. This keeps the fruit off the leaves and improves air circulation.
Water both crops thoroughly after planting. Ensure the vertical system drains excess water to prevent root rot. Place the tower under grow lights for 12–14 hours daily. Strawberries need consistent moisture; cucumbers prefer slightly drier periods between waterings to encourage fruiting.
Maintain and harvest
Once established, strawberries and cucumbers require minimal intervention. Harvest strawberries when they turn fully red. Pick cucumbers when they reach the desired size, typically every 2–3 days during peak production. Regular harvesting encourages continuous fruiting.
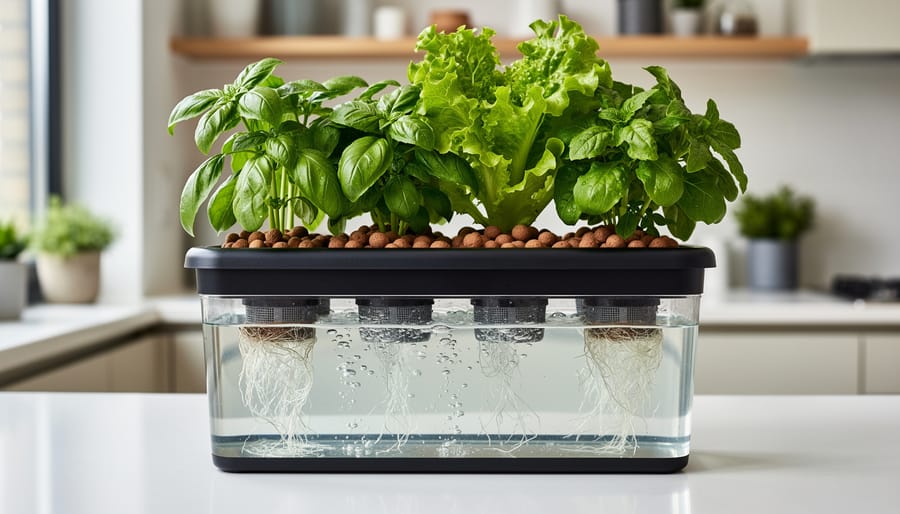
Manage water and nutrients
Keeping your indoor vertical garden healthy comes down to clean water and the right balance of food. Whether using a soil-based system or a hydroponic setup, the goal is to prevent root rot and stop nutrient deficiencies before they show up as yellow leaves or stunted growth.
Hydroponic vertical systems are closed loops. They recycle 100% of their water and nutrients, which means you have to monitor the chemistry closely. In soil systems, you have more buffer, but you still need to watch for salt buildup and uneven watering. Here is the routine to keep your vertical garden thriving.
Start every maintenance session by checking the water level. In hydroponic systems, the pump must stay submerged to avoid burning out or starving the roots. If the water looks cloudy or has a slimy film, it is time for a partial change. Cloudiness usually signals algae growth or bacterial bloom, which can clog your drip lines and suffocate roots. Clear water is a good sign; murky water is a red flag.
pH determines whether your plants can actually eat what you feed them. For most leafy greens and herbs in vertical systems, the ideal pH range is 5.5 to 6.5. If the pH drifts too high or low, nutrients lock out, and your plants will show deficiency symptoms even if you just added fertilizer. Use a simple liquid test kit or digital meter to check the solution once a week. Adjust with pH Up or pH Down solutions as needed.
Nutrients deplete as plants grow. In a vertical setup, the top plants often get the first sip of the solution, which can lead to uneven feeding. Replace your nutrient solution every two weeks, or whenever the electrical conductivity (EC) drops below the recommended range for your specific plants. Use a balanced, water-soluble fertilizer designed for hydroponics or container gardening. Avoid overfeeding; it is easier to fix a deficiency than a nutrient burn.
Once a month, pull a plant or two to check the root health. Healthy roots are white or light tan and firm. Brown, mushy roots indicate root rot, usually caused by stagnant water or lack of oxygen. If you see rot, trim the affected parts and treat the remaining roots with a hydrogen peroxide solution. Also, flush your drip lines or reservoir to remove any biofilm buildup that can harbor bacteria.
Dust blocks light and reduces photosynthesis. Gently wipe the leaves of your vertical garden plants with a damp cloth every few weeks. This also gives you a chance to spot pests like spider mites or aphids early. Indoor vertical gardens can be prone to pests because of the high density of plants. Catching an infestation early means you can treat it with neem oil or insecticidal soap before it spreads to your whole system.
-
Check water level and clarity
-
Test pH (target 5.5–6.5)
-
Add nutrients if EC is low
-
Inspect roots for rot
-
Wipe leaves and check for pests
Sticking to this weekly routine keeps your vertical garden from becoming a science project. You are managing a small ecosystem. Consistency is more important than perfection. If you miss a week, don’t panic—just get back on track with a full system check.
Troubleshoot common issues
Indoor vertical gardening issues are easier to solve when you separate the symptom from the cause. Common problems include yellowing leaves, drooping stems, or mold growth. Write down what you see, what changed recently, and whether the problem appears after watering, lighting adjustments, or temperature shifts.
Do the first pass while the garden is in its normal operating state. If only one section of the tower is affected, isolate that area before treating the whole system as broken. If core health indicators like wilting or discoloration are involved, stop treating it as a cosmetic issue and move to the specific care path.
This distinction keeps the troubleshooting from becoming a ritual. The goal is not to guess randomly; it is to prove whether the fault is temporary environmental lag, a connection problem, outdated practices, accessory interference, or something that needs service documentation.
The simplest way to use this section is to keep the setup small, verify each change, and record the stable configuration before adding optional accessories.
No comments yet. Be the first to share your thoughts!